- Obsaased
- Posts
- How 7 AI SaaS apps do onboarding
How 7 AI SaaS apps do onboarding
Jon Bishop
February 08, 2024
Sign up at Obsaased.co
👋 Hello!
Thank you for waiting! As a reminder, you signed up for Obsaased back in September through Built with AI, my old daily AI tools newsletter.
Below is the first edition of Obsaased, a newsletter focused on early-stage SaaS marketing, product, AI, and growth.
I’m going to be experimenting with different formats. Please let me know what works and what doesn’t!
(In case the post is cut off, here’s the web version. It ended up being a lot long than I expected!)
How 7 AI SaaS apps do onboarding
I was recently helping some friends think through self-serve onboarding for their AI SaaS app and wanted to see how AI SaaS companies are doing it.
So, I signed up and went through onboarding for seven different early-stage AI SaaS products:
Julius
Chatbase
Lex
Kraftful
Testimonial
Pallyy
June
The startups are a mix of self-funded and funded. Each onboarding starts with the product’s homepage, goes through signing up, and ends with the first usage of the product.
Onboarding basics
At early-stage startups, teams get pulled in all kinds of directions and end up with more priorities than they have time to take on.
With onboarding, there will always be ways to improve your user experience, but only so many will have enough of an impact to be prioritized over other growth projects.
You absolutely do want to nail the basics, though.
Only a small percentage of the people who are aware of your product will ever reach onboarding. A poor experience can lose you the time and money you’ve invested to get them there.
It’s also the user’s first experience with your application and your strongest chance to educate them on your product.
It’s not uncommon to trace retention issues back to a poor onboarding experience with your product.
The big things to think about:
Reducing negative friction
Negative friction drives off the people you want to sign up
Negative friction can include collecting data during onboarding that’s not very important
Adding positive friction
Positive friction drives off the people you don’t want signing up
Positive friction increases signup quality and can include tactics like requiring a work email address to sign up for a B2B product
What information to collect
Each bit of information you collect introduces friction, so be thoughtful about what you’re going to collect beyond what you absolutely need
Whether to take credit cards or not for a free trial
Requiring credit cards at signup increases the percentage of customers who will pay at the end, but reduces the overall number of signups
Not requiring credit cards at signup reduces the percentage of customers who will pay at the end, but increases the overall number of signups
The number of steps until the user can use your product
While you want users to experience your product as soon as possible, you may have to introduce steps like email confirmation to keep signup quality high
The density of each step
Giving a user too much work for a single step will hurt conversion
The first product experience you want users to have
Not only do you want to give users a good experience, you want to educate them on the product
AI SaaS product onboardings
Julius

About the product
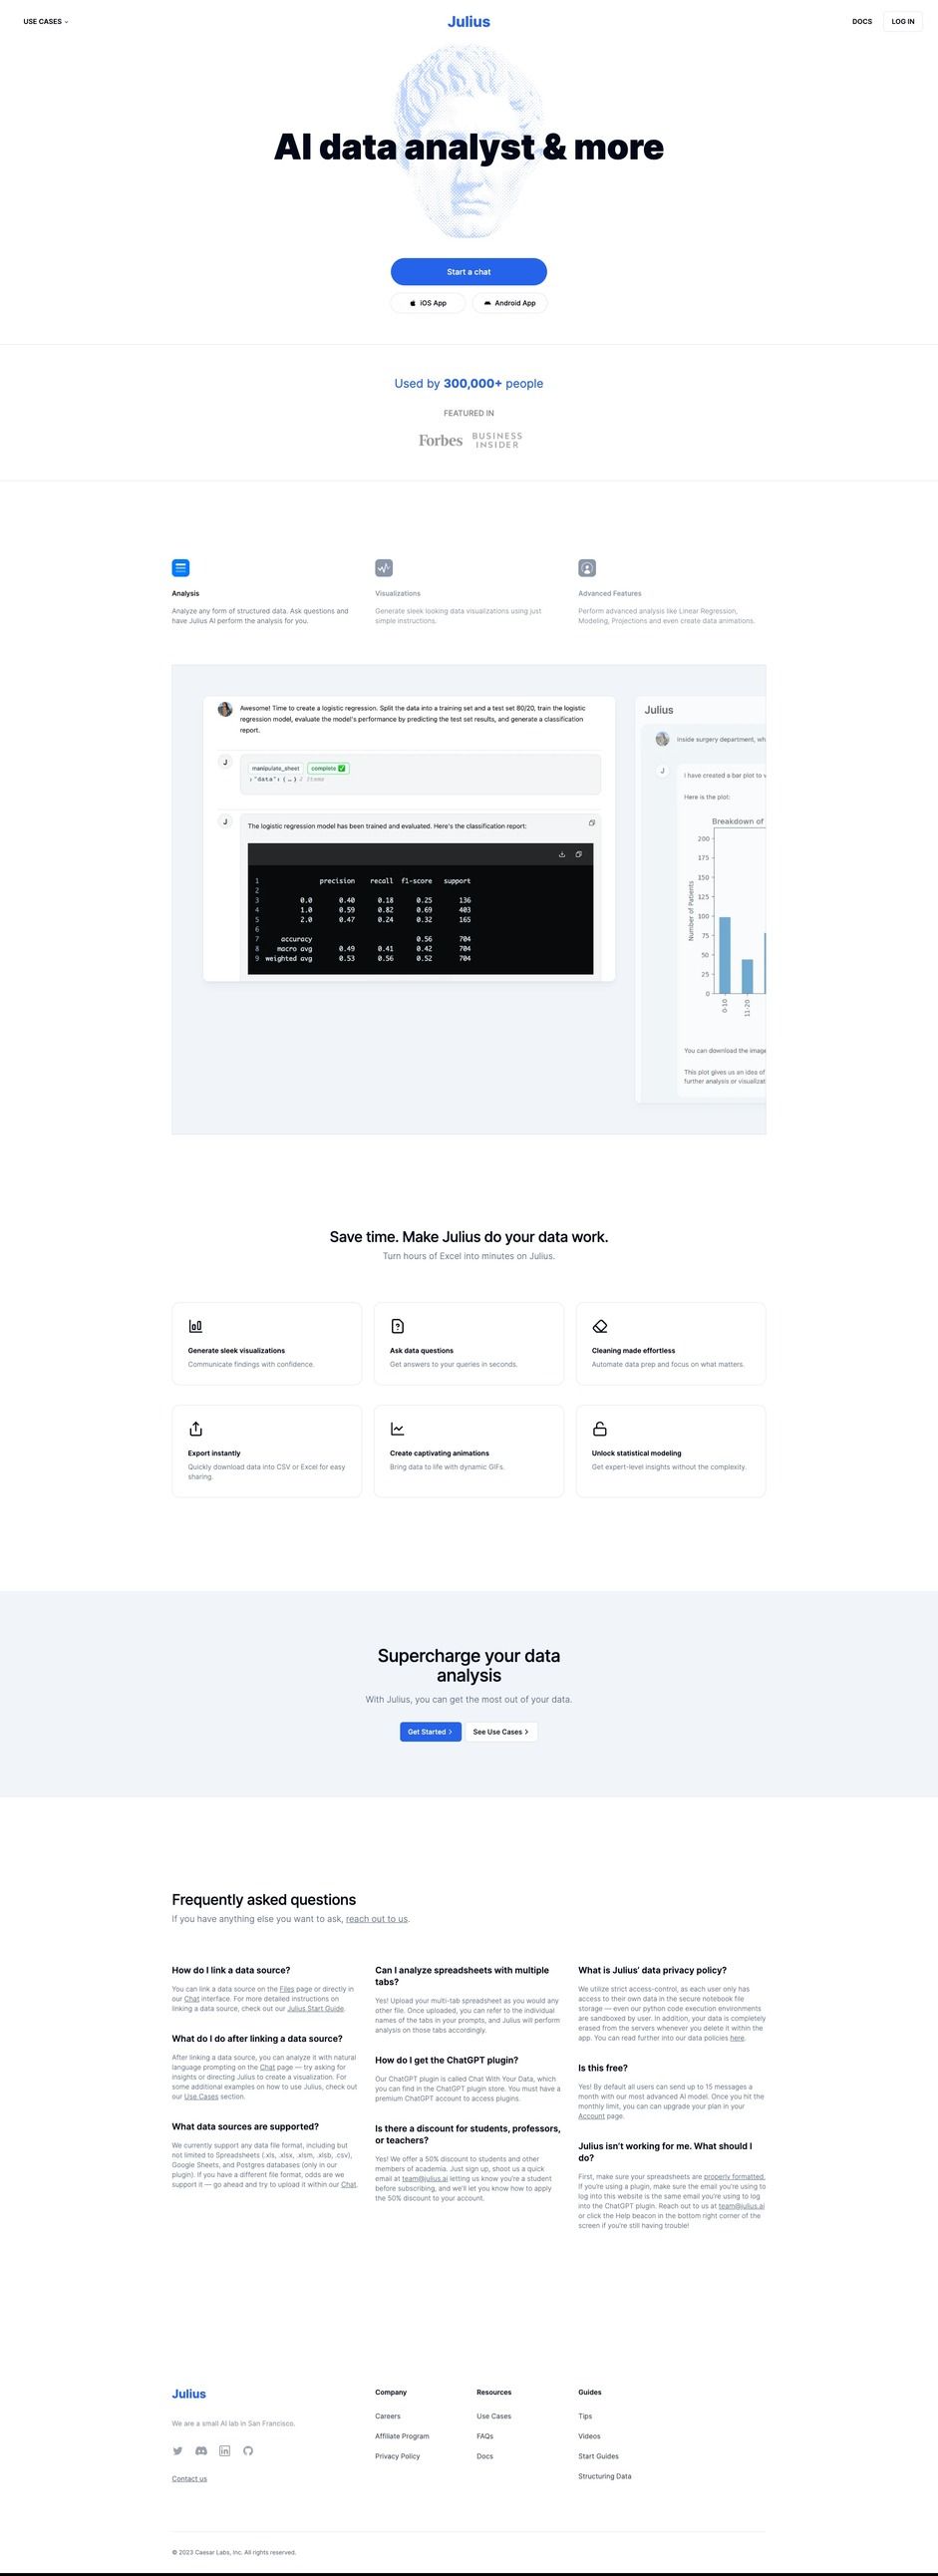
Julius is an AI data product that can analyze and visualize datasets, perform complex analysis like forecasting and regression, and train ML models.
Founder(s)
Unique
The main CTA on Julius’s homepage sends you to a log page as the second onboarding step vs. a signup page, which is pretty surprising. The design and placement of the signup page link is pretty standard for a SaaS login page, but not for one in the middle of an onboarding flow.
Notes
Funded/Self funded: Funded
Credit card required: No
Product walkthrough: No
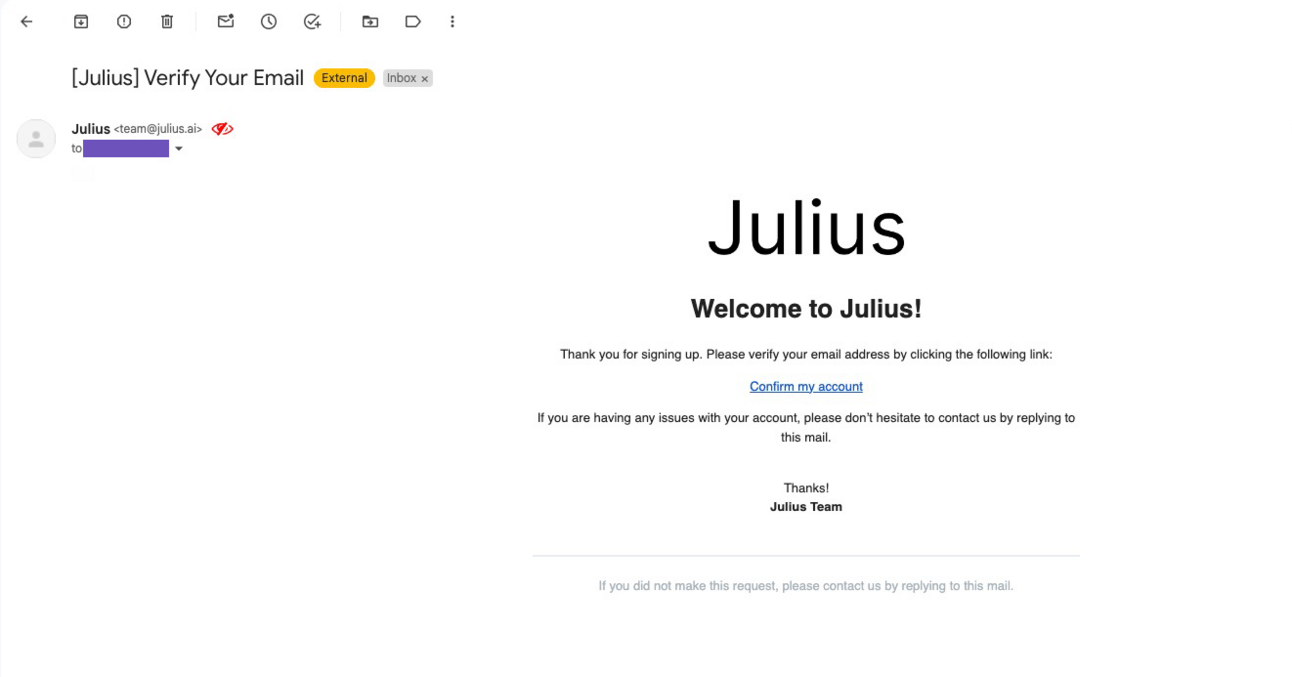
Email confirmation required: Yes
# of steps until first product usage: 7
Required info: Email, password
Optional info: None
Onboarding Flow
Step 1: Home → Step 2: Log in → Step 3: Sign up → Step 4: Dashboard → Step 5: Confirm email → Step 6: Verification Email → Step 7: Analyze data (email confirmed) → Step 8: Data Analyzed
Julius Step 1: Home
Julius Step 2: Log in page

Log in
Julius Step 3: Sign up page

Julius Step 4: Dashboard

Julius Step 5: Confirmation email sent

Julius Step 6: Confirmation email
Julius Step 7: Analyze data (email confirmed)

Julius Step 8: Data analyzed

Chatbase
About the product
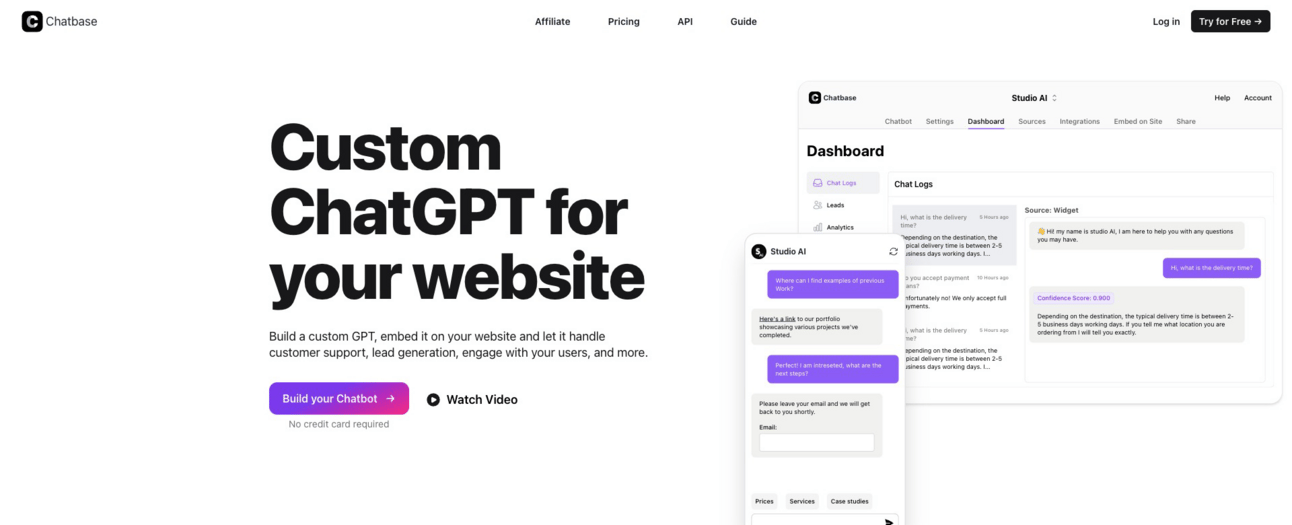
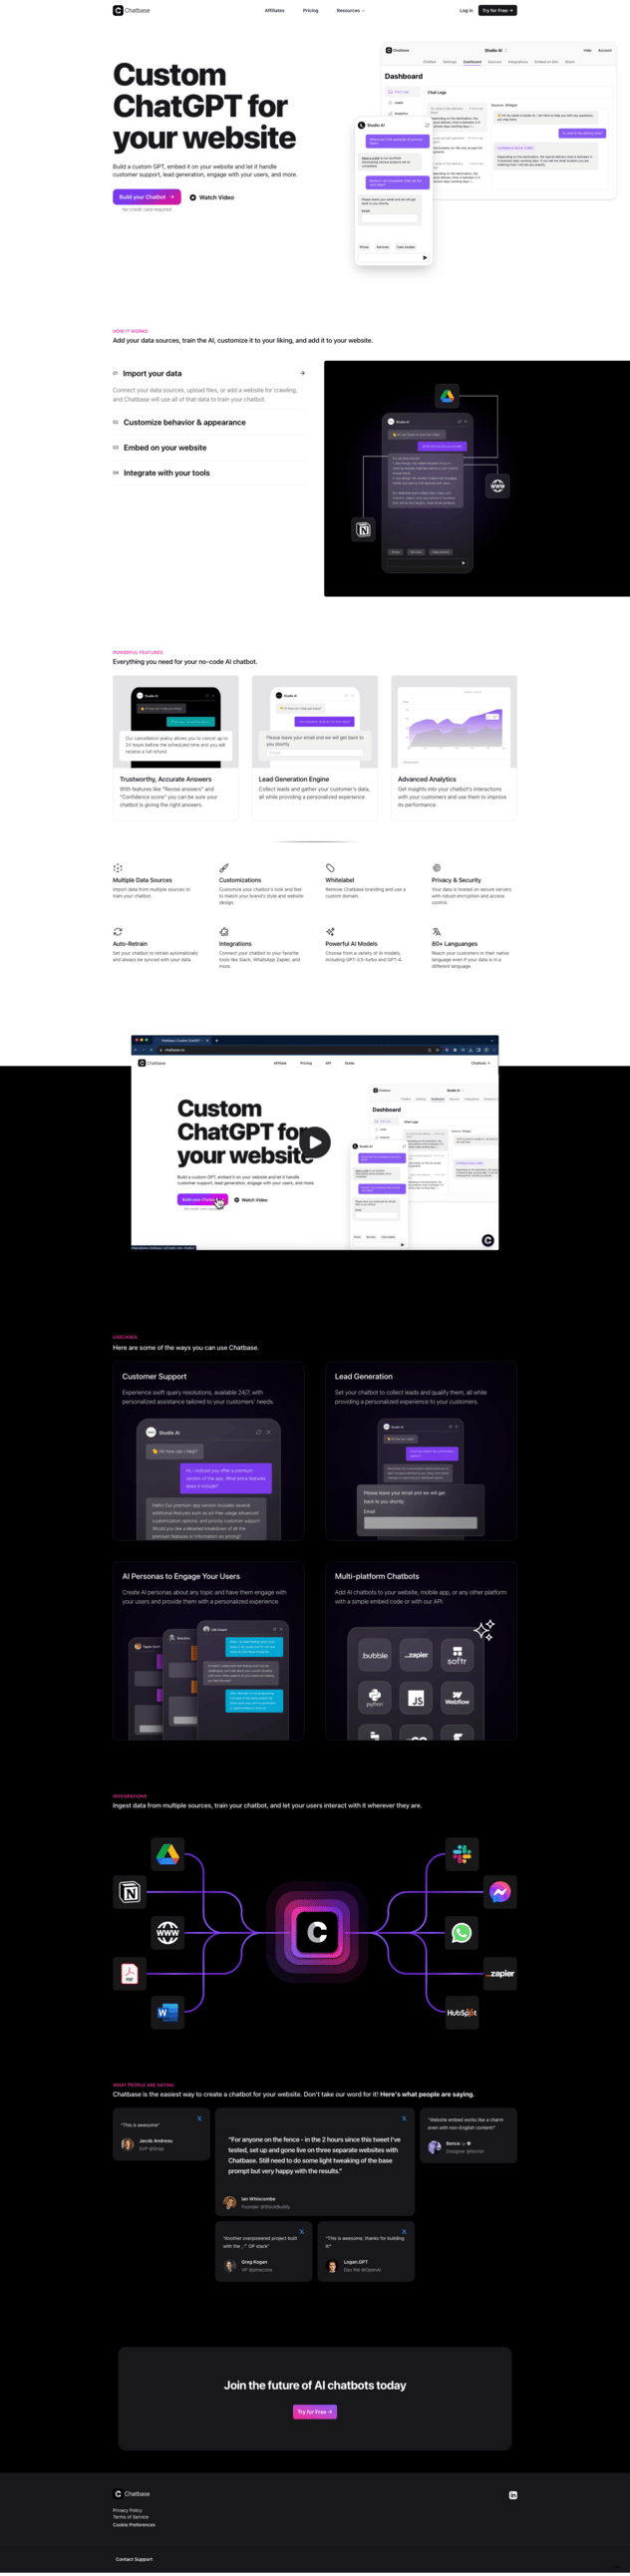
Chatbase allows you to build a custom GPT, embed it on your website and let it handle customer support, lead generation, and other activities.
Founder(s)
Unique
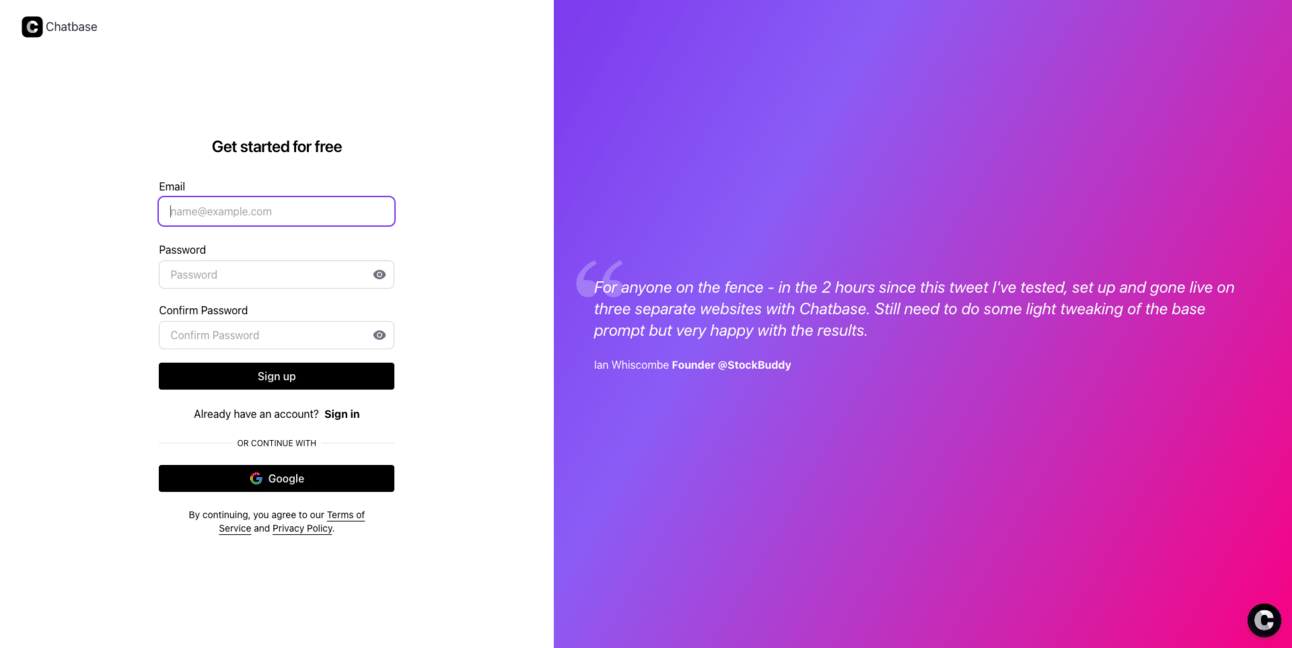
Like Julius, Chatbase’s main homepage CTA (“Build a Chatbot”) sends you to a log page vs. a signup page. Unlike Julius, Chatbase does have a sign up page CTA in the navigation (“Try for Free”).
Notes
Funded/Self funded: Self funded
Credit card required: No
Product walkthrough: No
Email confirmation required: Yes
# of steps until first product usage: 6
Required info: Email, Password
Optional info: None
Onboarding Flow
Step 1: Home → Step 2: Log in→ Step 3: Sign up → Step 4: Email confirmation sent → Step 5: Confirmation email → Step 6: Dashboard → Step 7: Create new chatbot
Chatbase Step 1: Home
Chatbase Step 2: Log in

Chatbase Step 3: Sign Up
Chatbase Step 4: Confirmation email sent

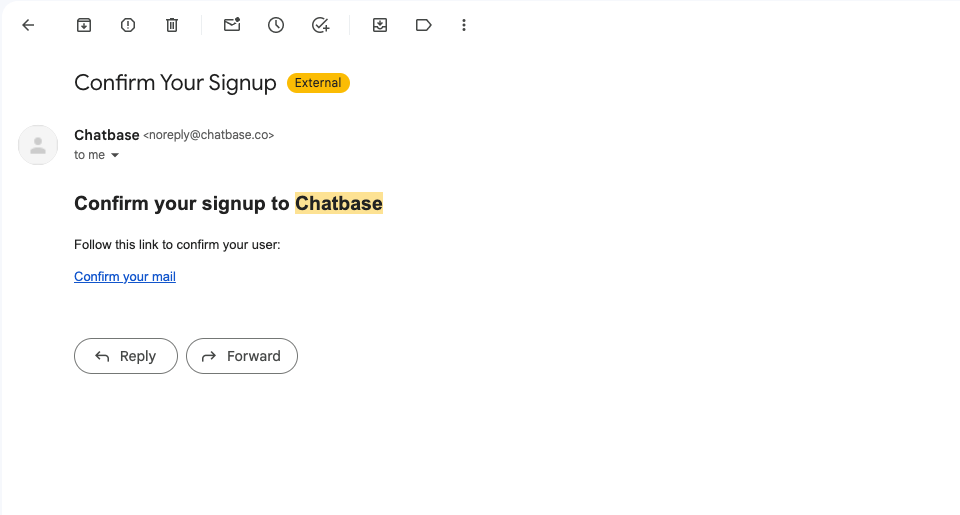
Chatbase Step 5: Confirmation email
Chatbase Step 6: Dashboard (email confirmed)

Chatbase Step 7: Create new chatbot

Lex

About the product
Lex is an AI writing tool with AI chat built in to help you write better.
Founder(s)
Unique
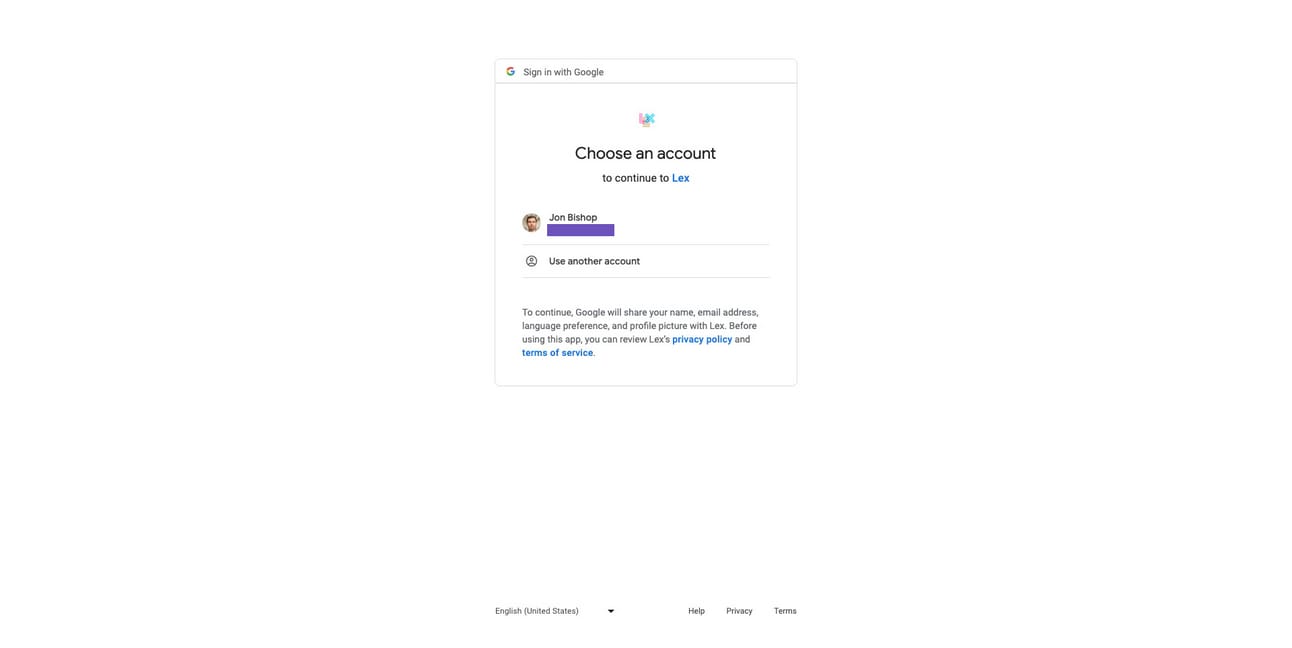
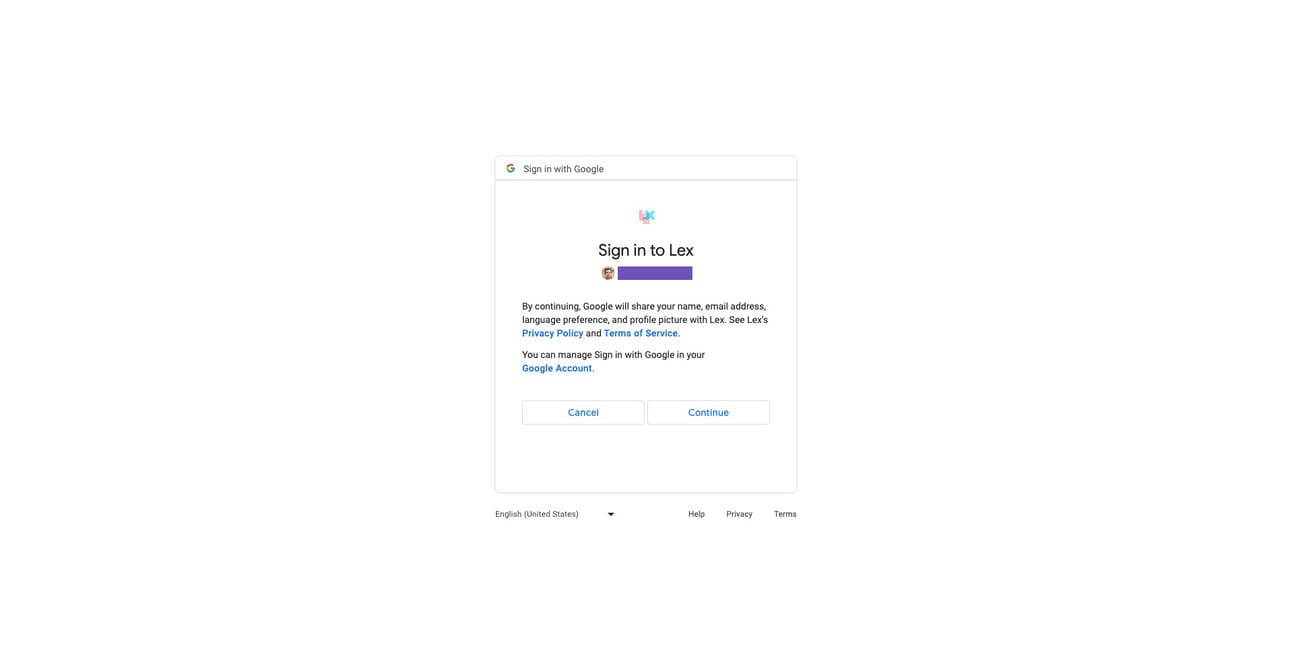
Lex only allows you to sign up with a gmail address through Google authentication
Notes
Funded/Self funded: Funded
Credit card required: No
Product walkthrough: Yes - required
Email confirmation required: No
# of steps until first product usage: 9
Required info: Email (only allows Gmail authentication), language, writing types, and hours per week spent writing
Optional info: None
Onboarding flow
Step 1: Home → Step 2: Choose a Google account→ Step 3: Sign in to Lex → Step 4: Pick your language → Step 5: How it works → Step 6: Pick writing types → Step 7: How often do you write? → Step 8: How to use Lex → Step 9: Dashboard → Step 10: Ask Lex → Step 11: First response
Lex Step 1: Home

Lex Step 2: Choose a Google account
Lex Step 3: Sign in to Lex
Lex Step 4: Pick your language

Lex Step 5: How it works

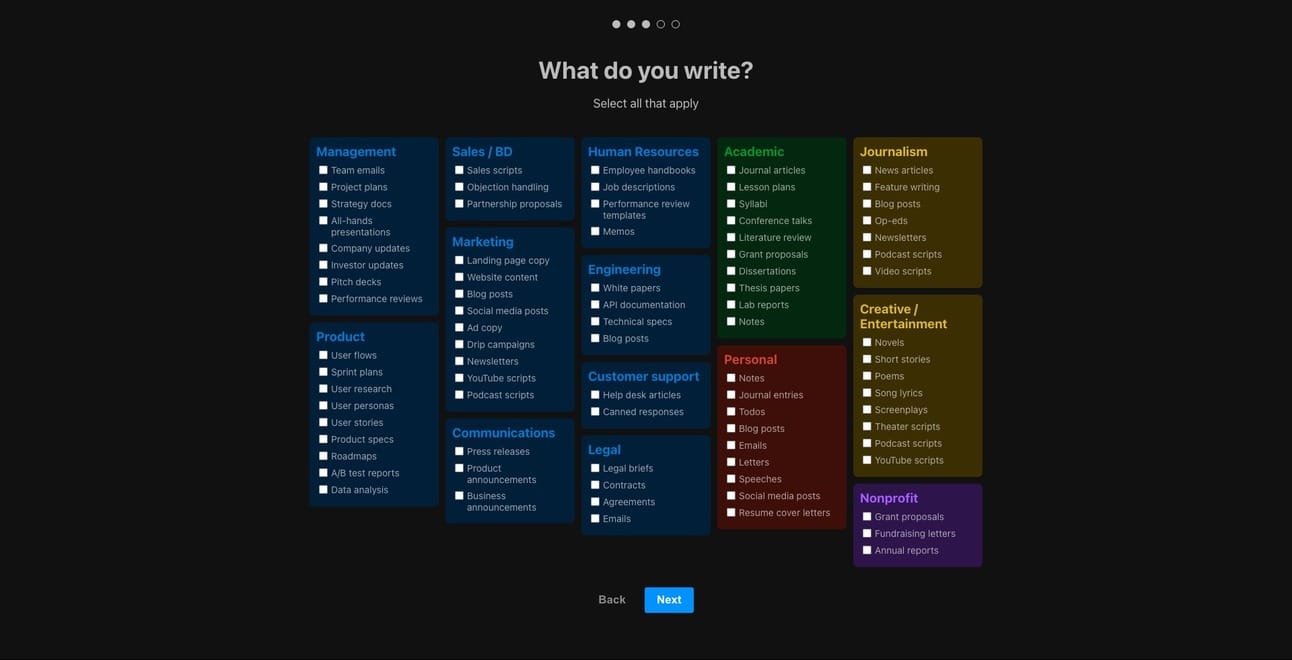
Lex Step 6: Pick writing types
Lex Step 7: How often do you write?

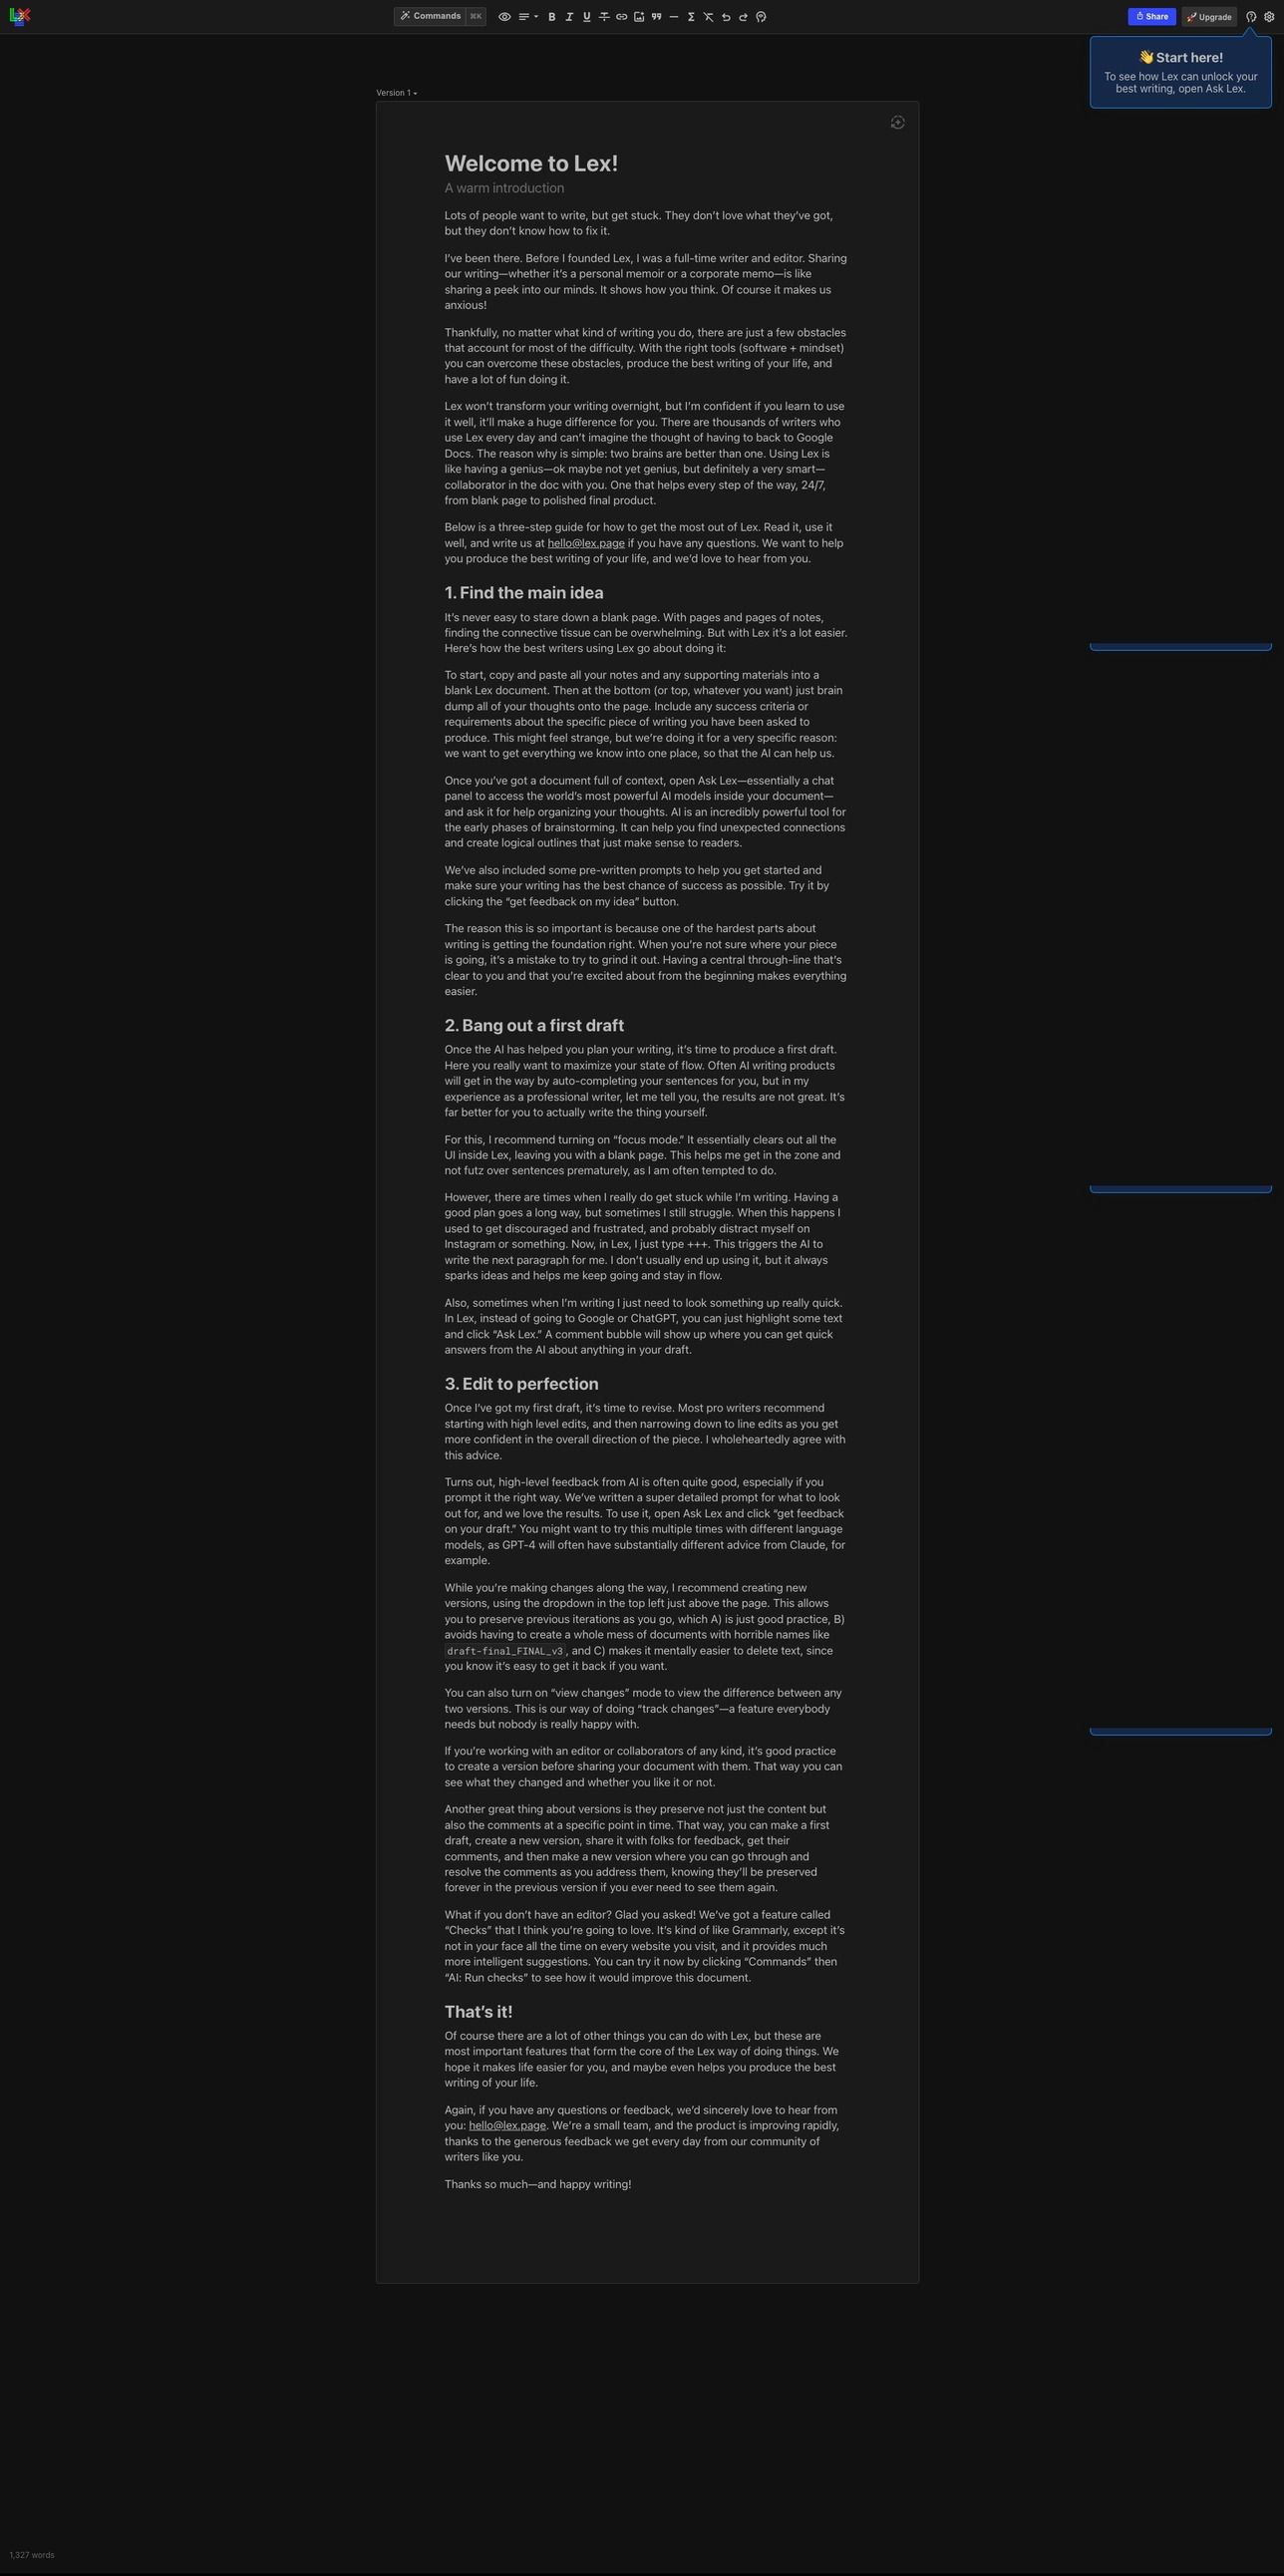
Lex Step 8: How to use Lex

Lex Step 9: Dashboard
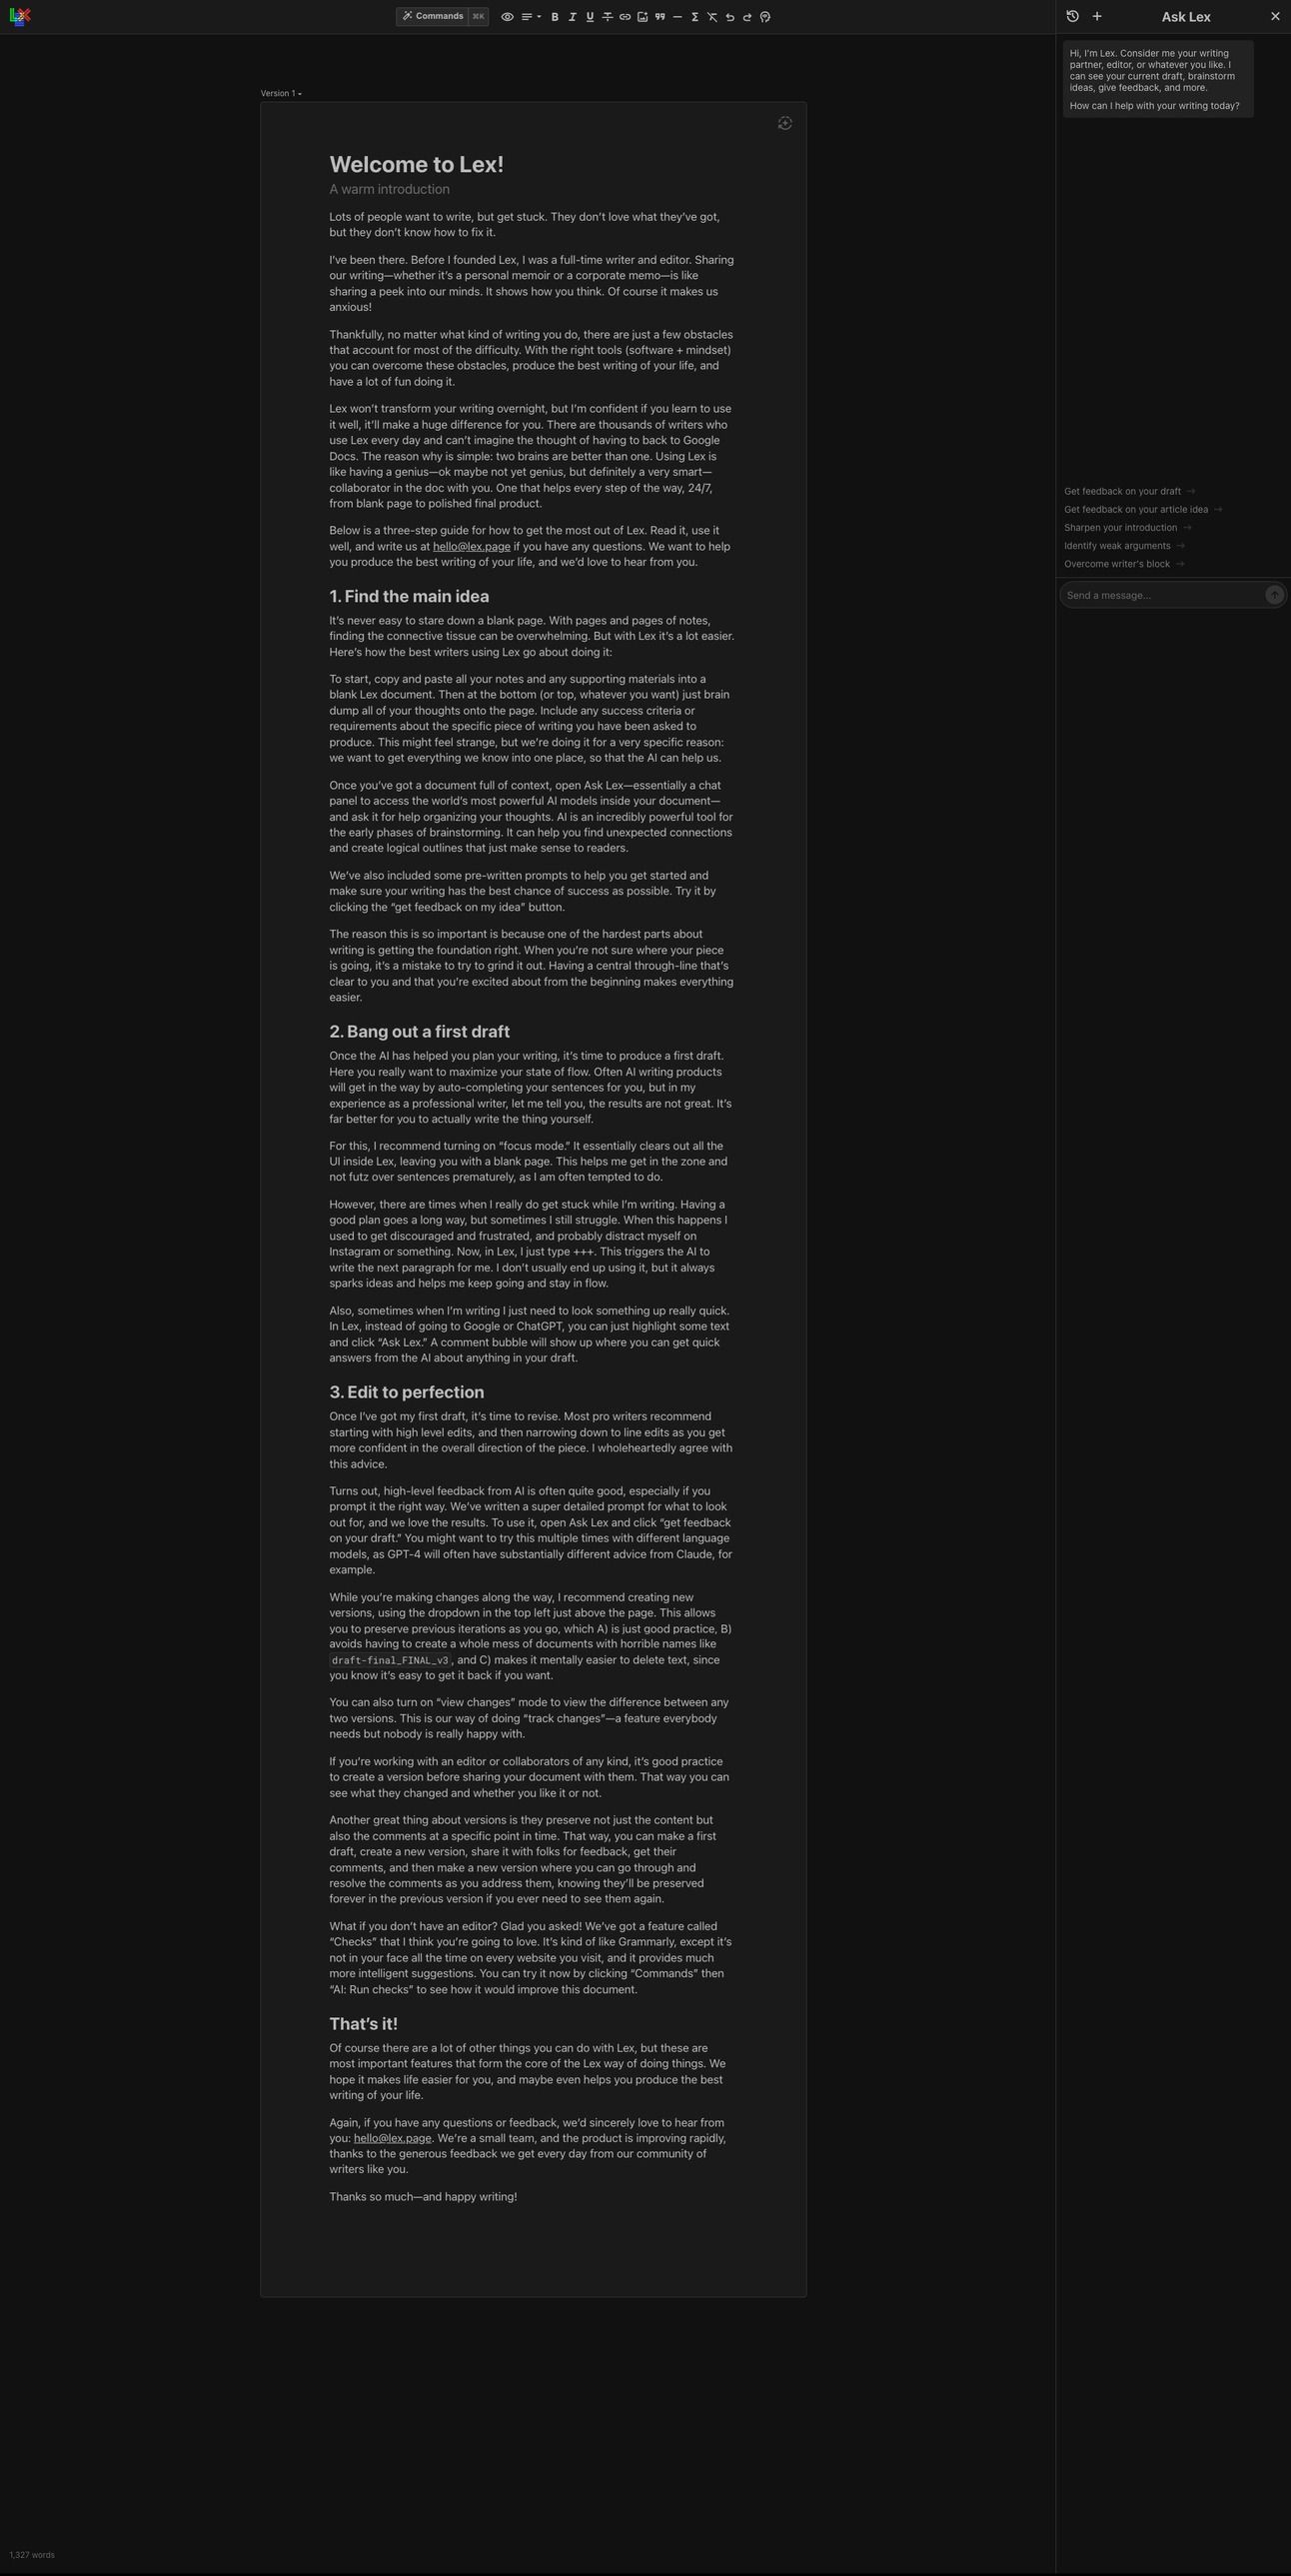
Lex Step 10: Ask Lex
Lex Step 11: First response

Kraftful
About the product
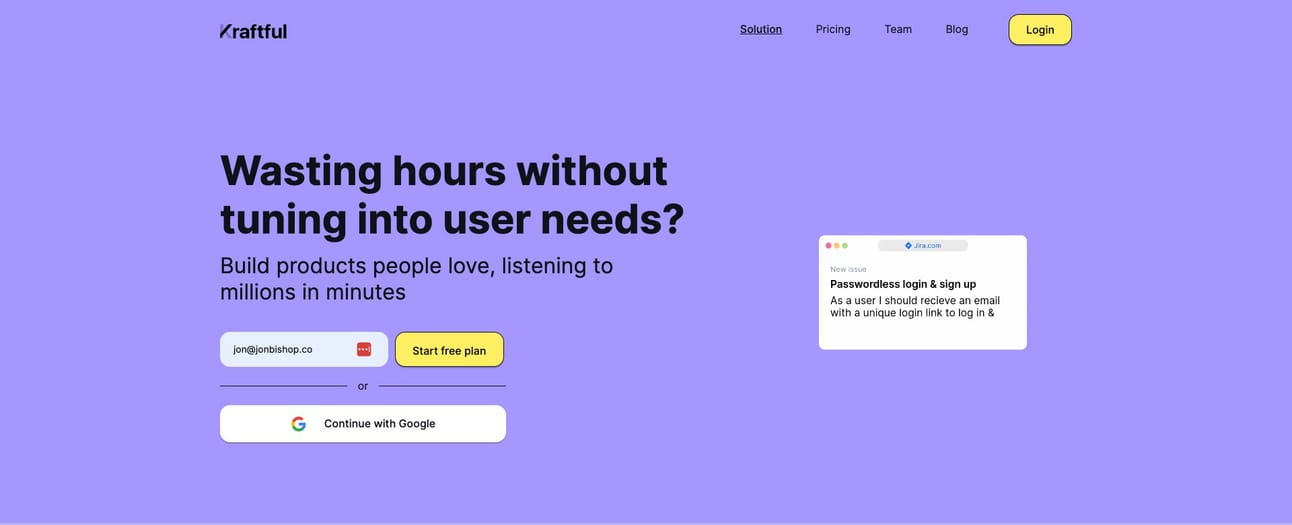
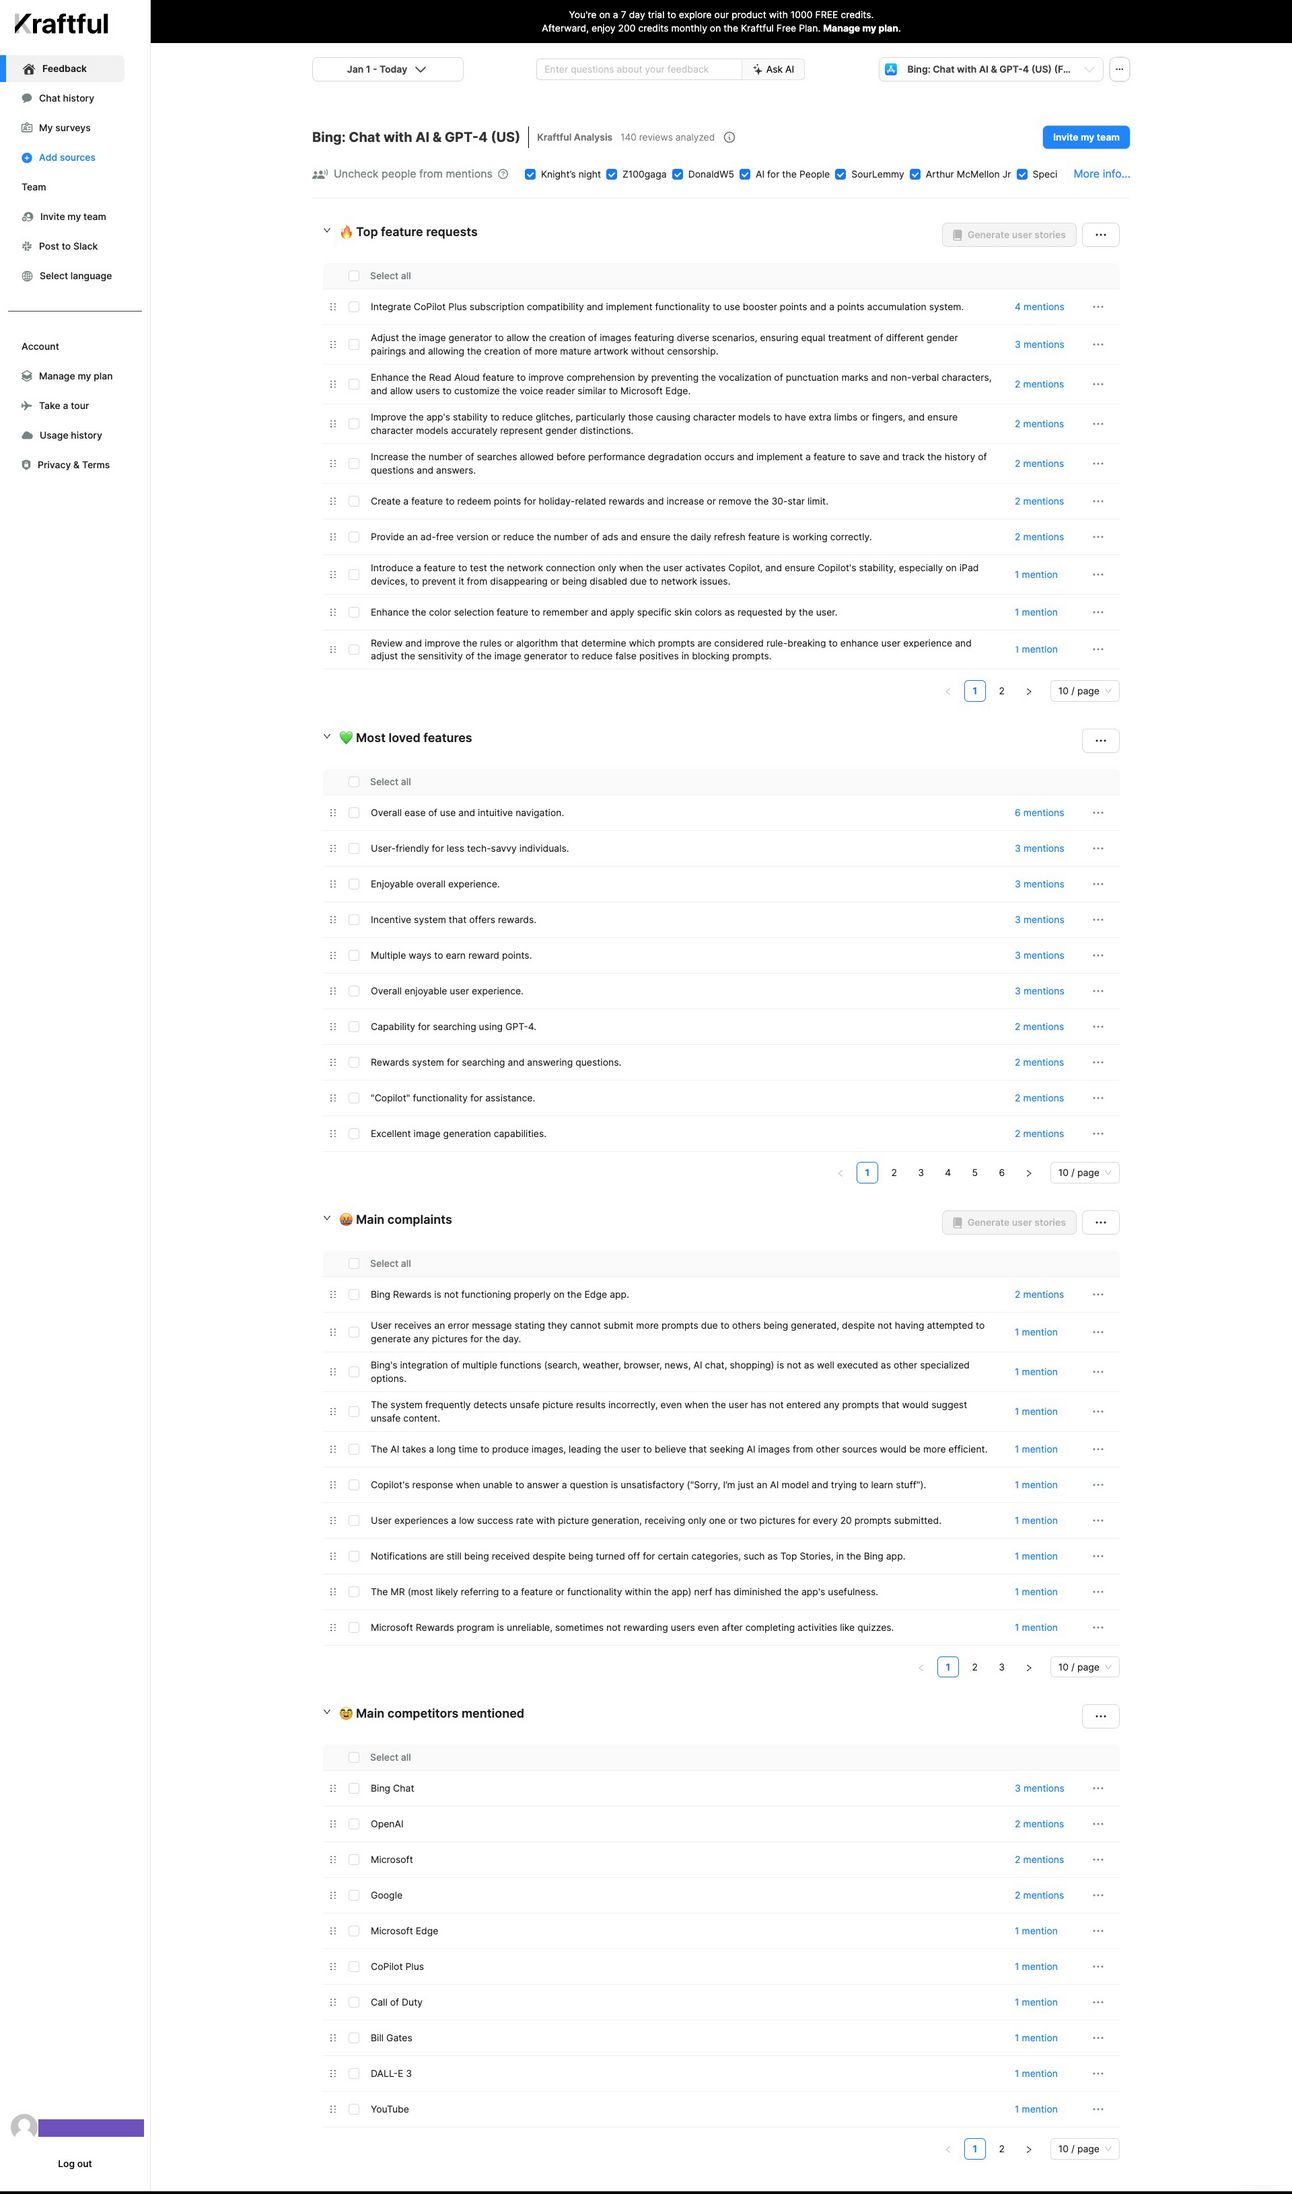
Kraftful uses AI to turn user feedback from 30 sources into feature requests, popular features, and other product insights.
Founder(s)
Unique
Kraftul doesn’t have a sign up page and only collects email
Least amount of information gathered out of everyone
Notes
Funded/Self funded: Funded
Credit card required: No
Product walkthrough: No
Email confirmation required: Yes
# of steps until first product usage: 5
Required info: Email
Optional info: None
Onboarding flow
Step 1: Home → Step 2: Confirm email → Step 3: Confirmation email → Step 4: Email confirmed → Step 5: What to analyze → Step 6: Analyzing → Step 7: Analysis ready email → Step 8: Analysis ready
Kraftful Step 1: Home

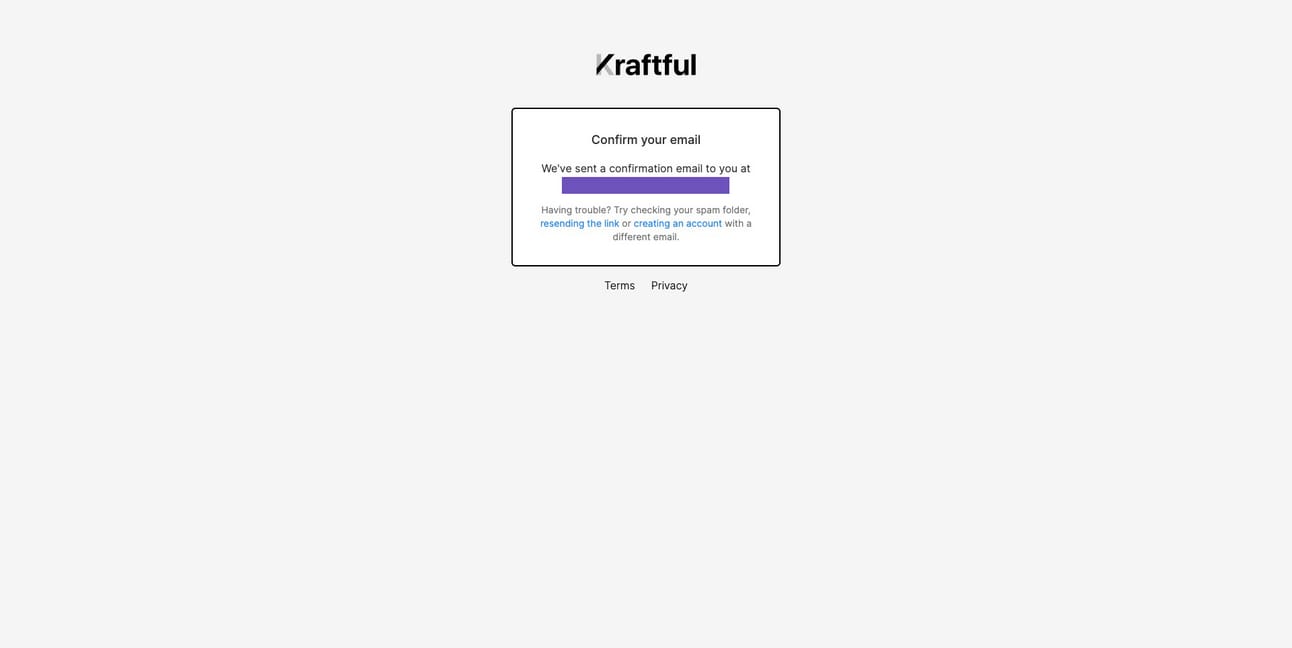
Kraftful Step 2: Confirmation email sent
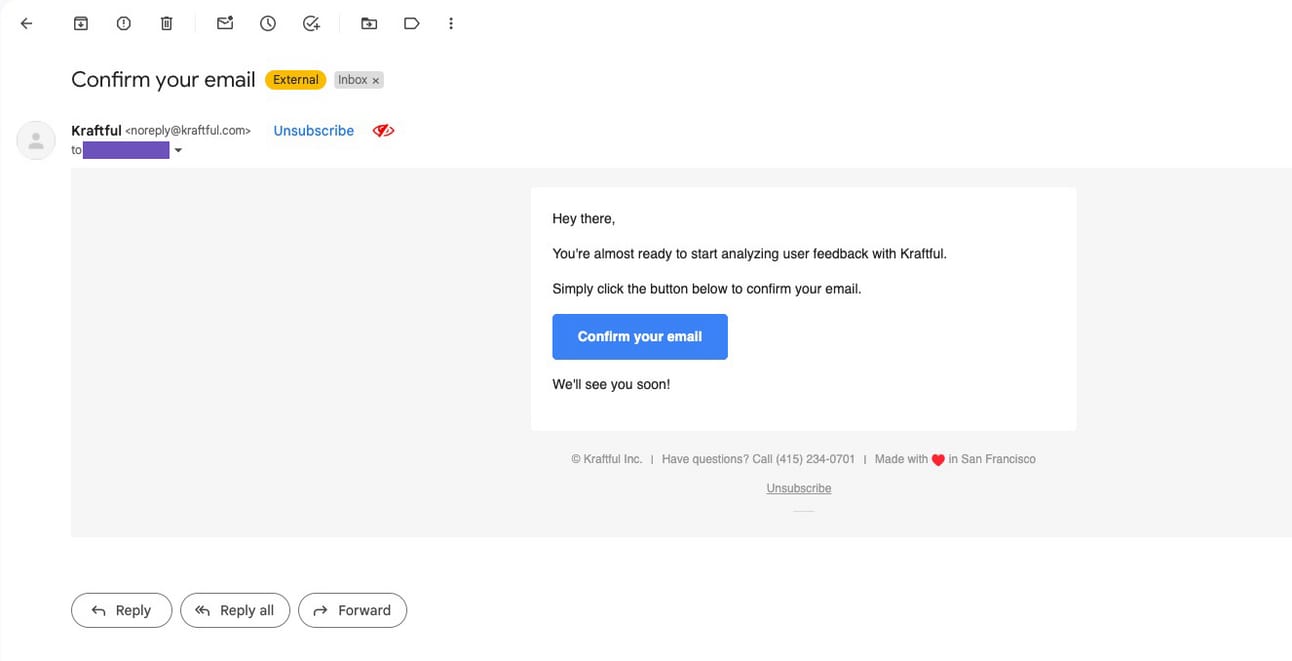
Kraftful Step 3: Confirmation email
Kraftful Step 4: Email confirmed

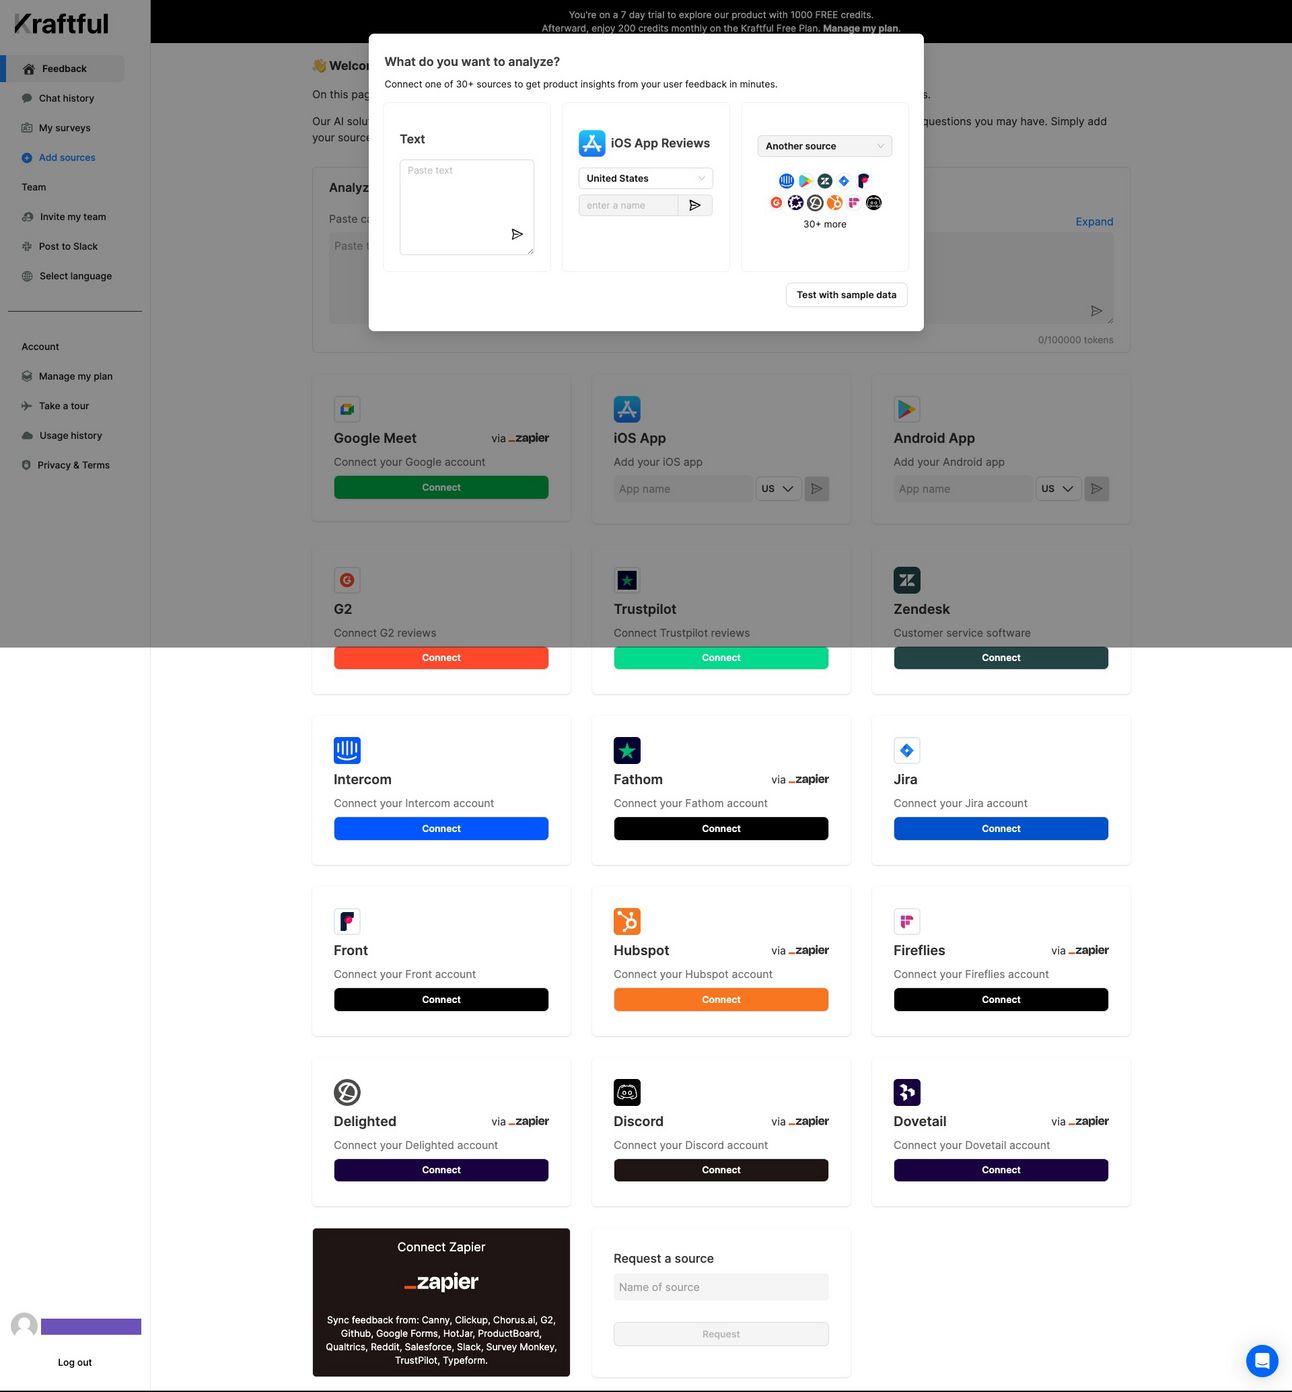
Kraftful Step 5: What to analyze
Kraftful Step 6: Analyzing
Kraftful Step 7: Analysis ready email
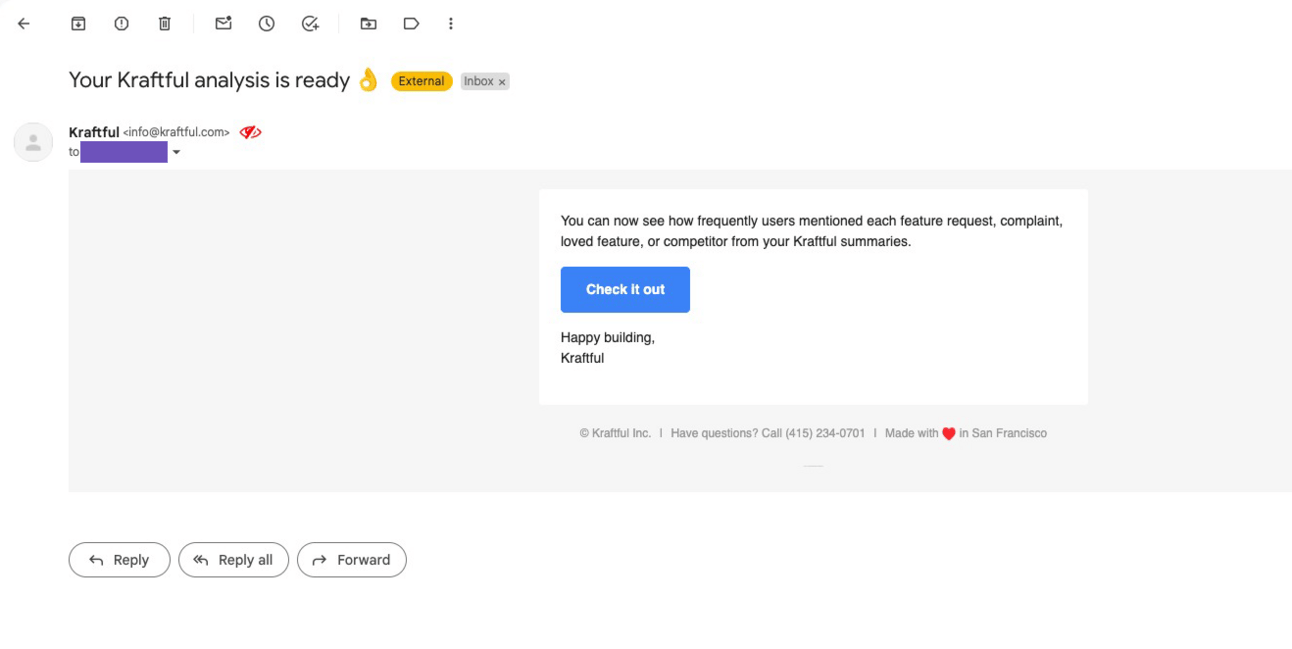
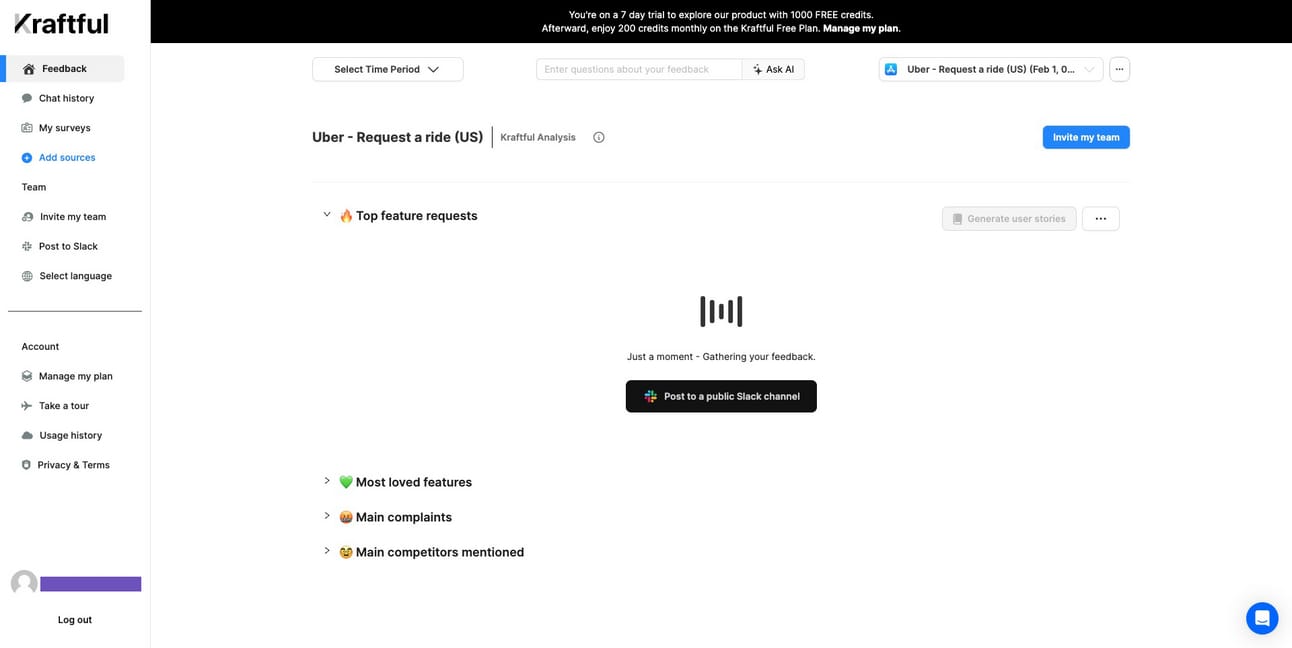
Kraftful Step 8: Analysis ready
Testimonial
About the product
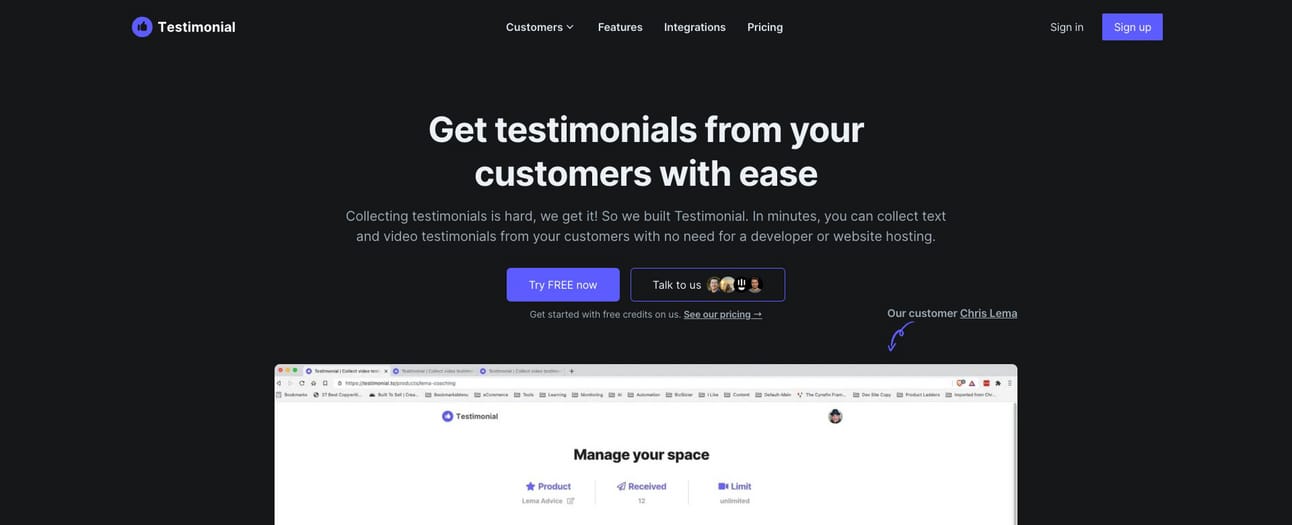
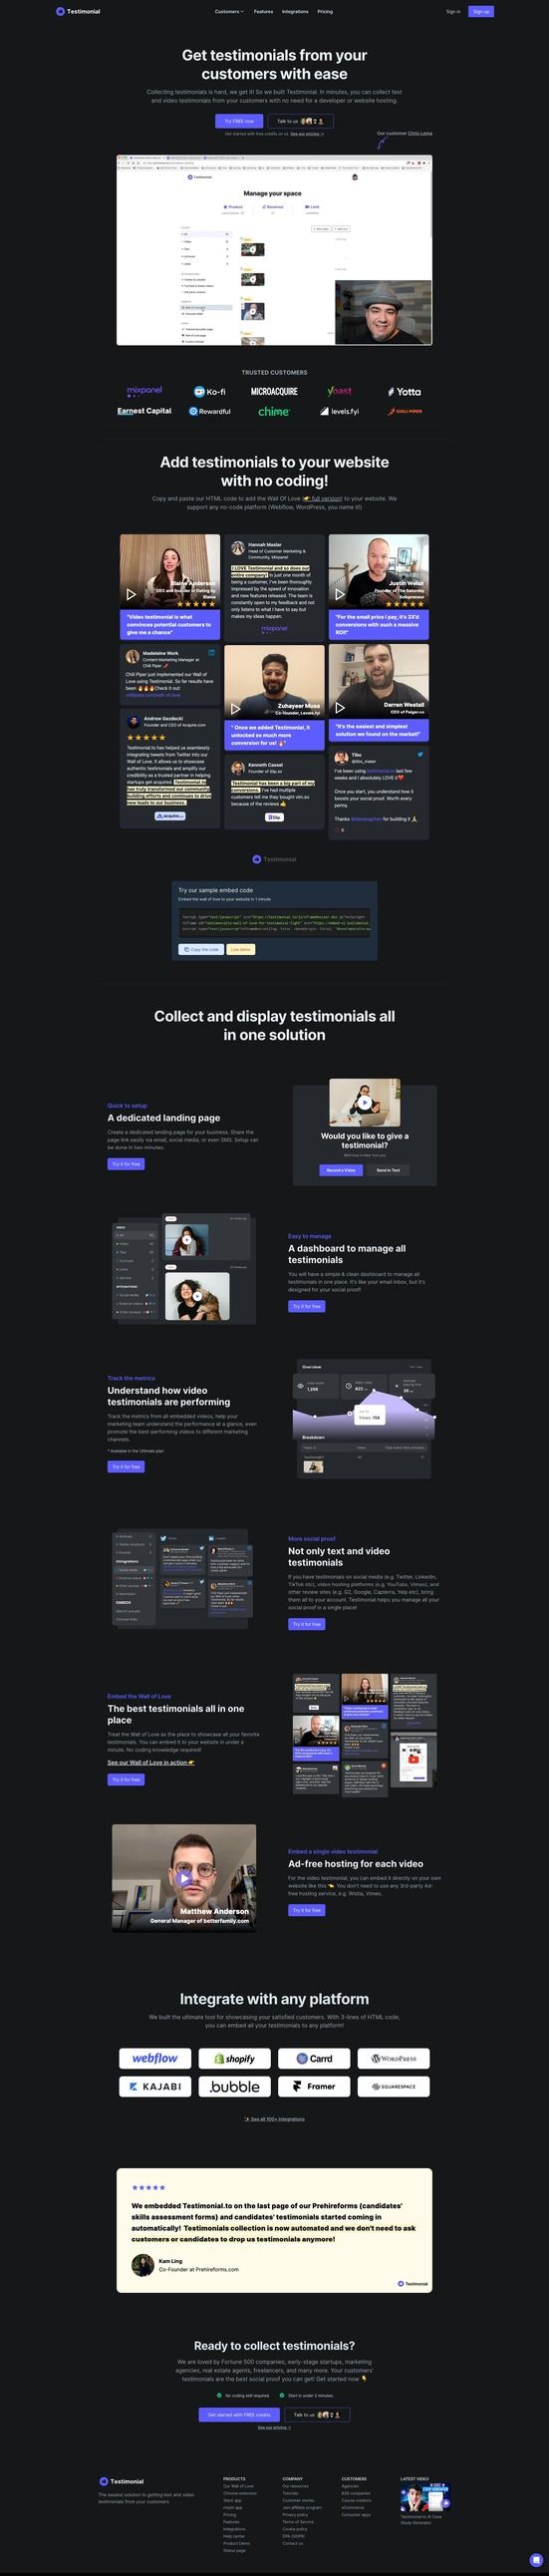
Testimonial allows you to collect and host text and video testimonials from your customers.
Founder(s)
Unique
Onboarding includes an AI tool that helps generate your Testimonial page.
Notes
Funded/Self funded: Self-funded
Credit card required: No
Product walkthrough: Yes - Required
Email confirmation required: Yes
# of steps until first product usage: 7
Required info: First name, email, password
Optional info: None
Onboarding flow
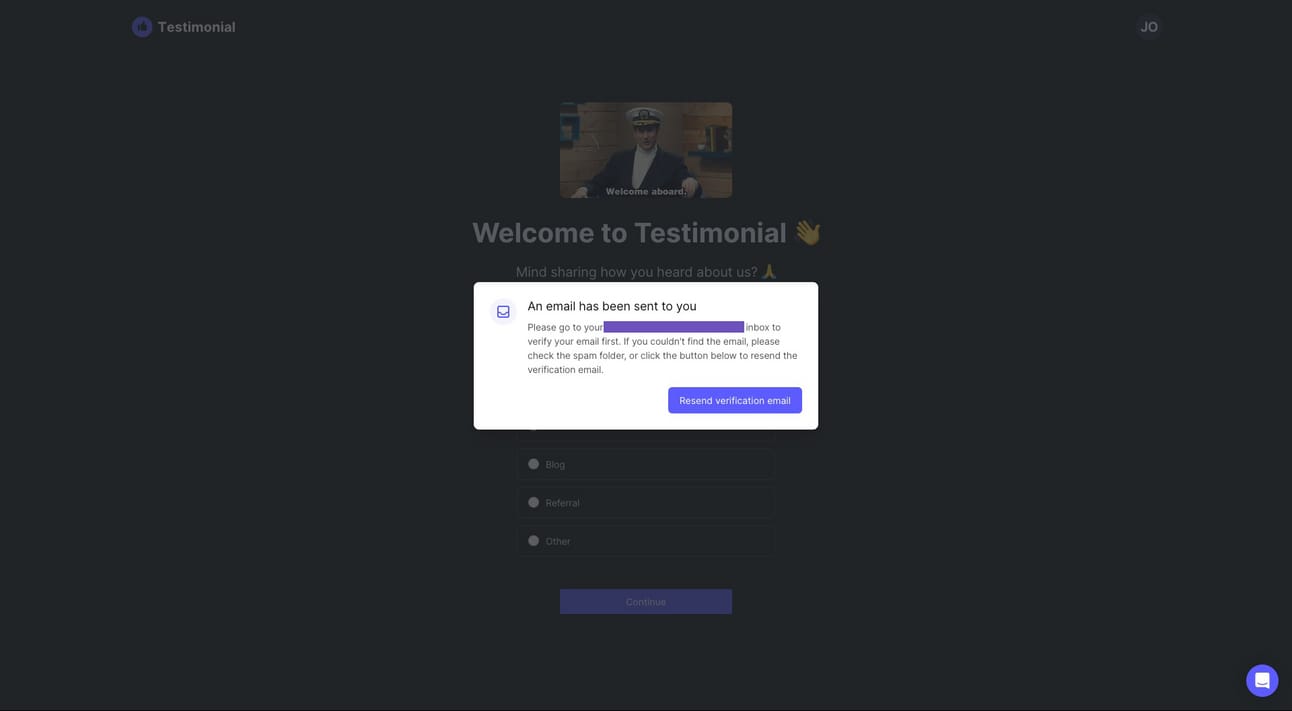
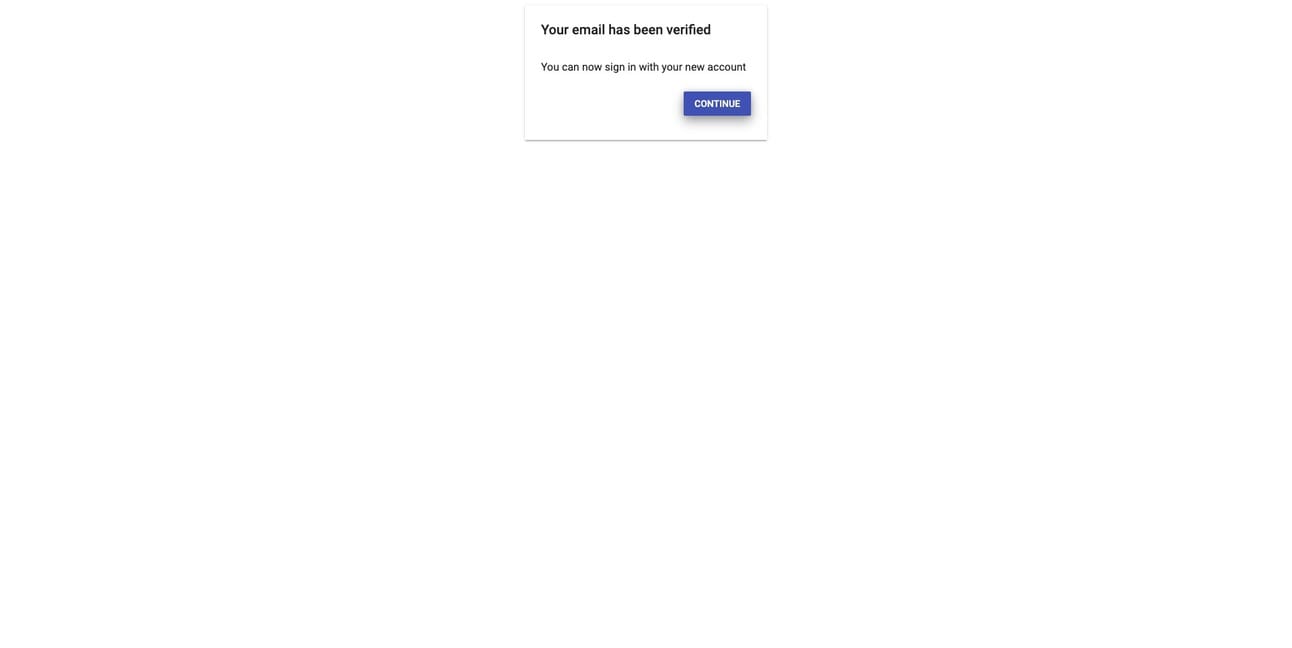
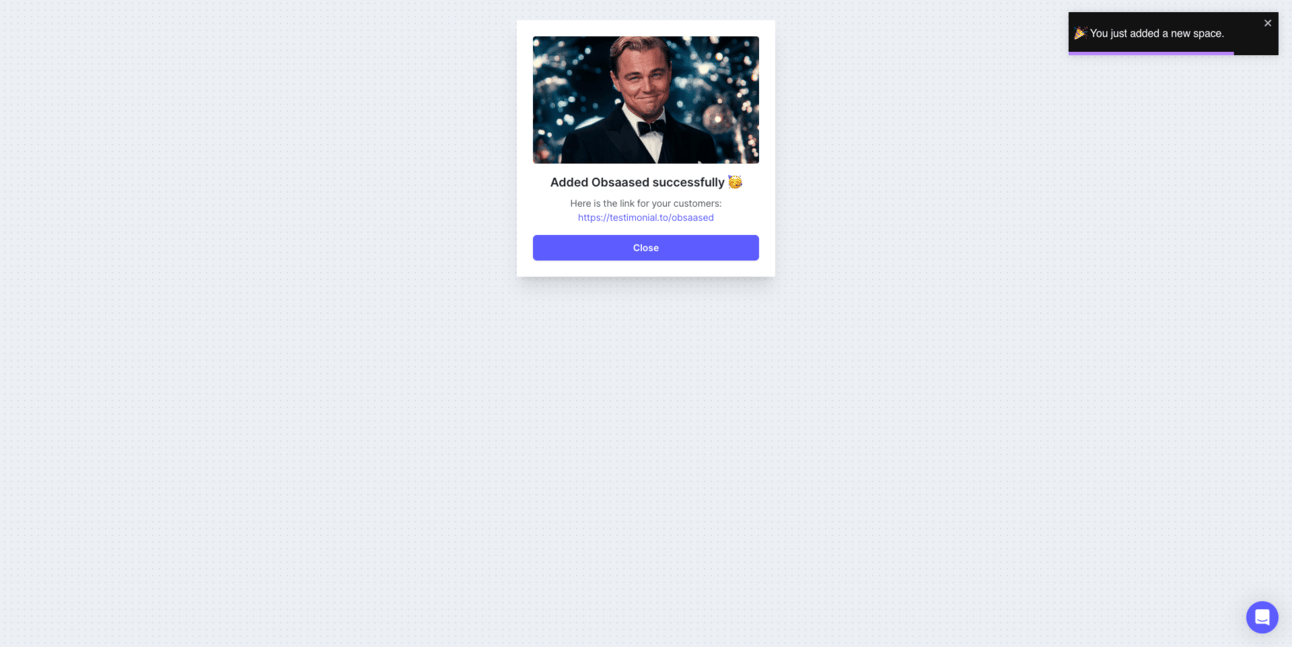
Step 1: Home → Step 2: Sign up → Step 3: Confirmation email sent → Step 4: Confirmation email → Step 5: Email confirmed → Step 6: How you heard about us → Step 7: AI Space Creator → Step 8: Space preview → Step 9: Customize thank you page → Step 10: Space created successfully → Step 11: Dashboard
Testimonial Step 1: Home
Testimonial Step 2: Sign up

Testimonial Step 3: Confirmation email sent
Testimonial Step 4: Confirmation email

Testimonial Step 5: Email confirmed
Testimonial Step 6: How you heard of us

Testimonial Step 7: AI Space Creator

Testimonial Step 8: Space preview

Testimonial Step 9: Customize thank you page

Testimonial Step 10: Space created successfully
Testimonial Step 11: Dashboard

Pallyy
About the product
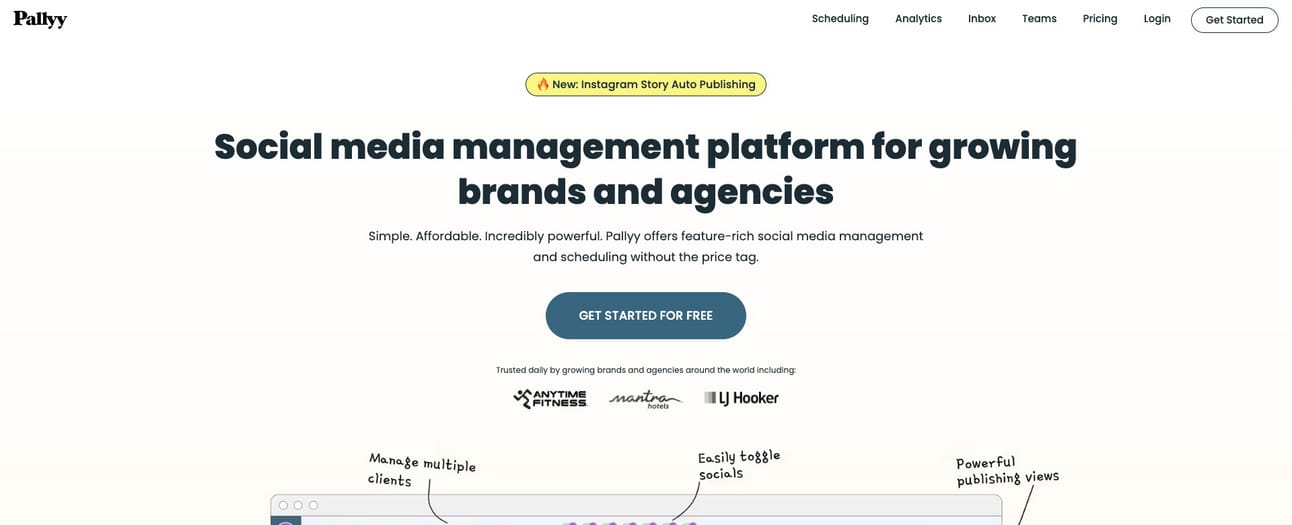
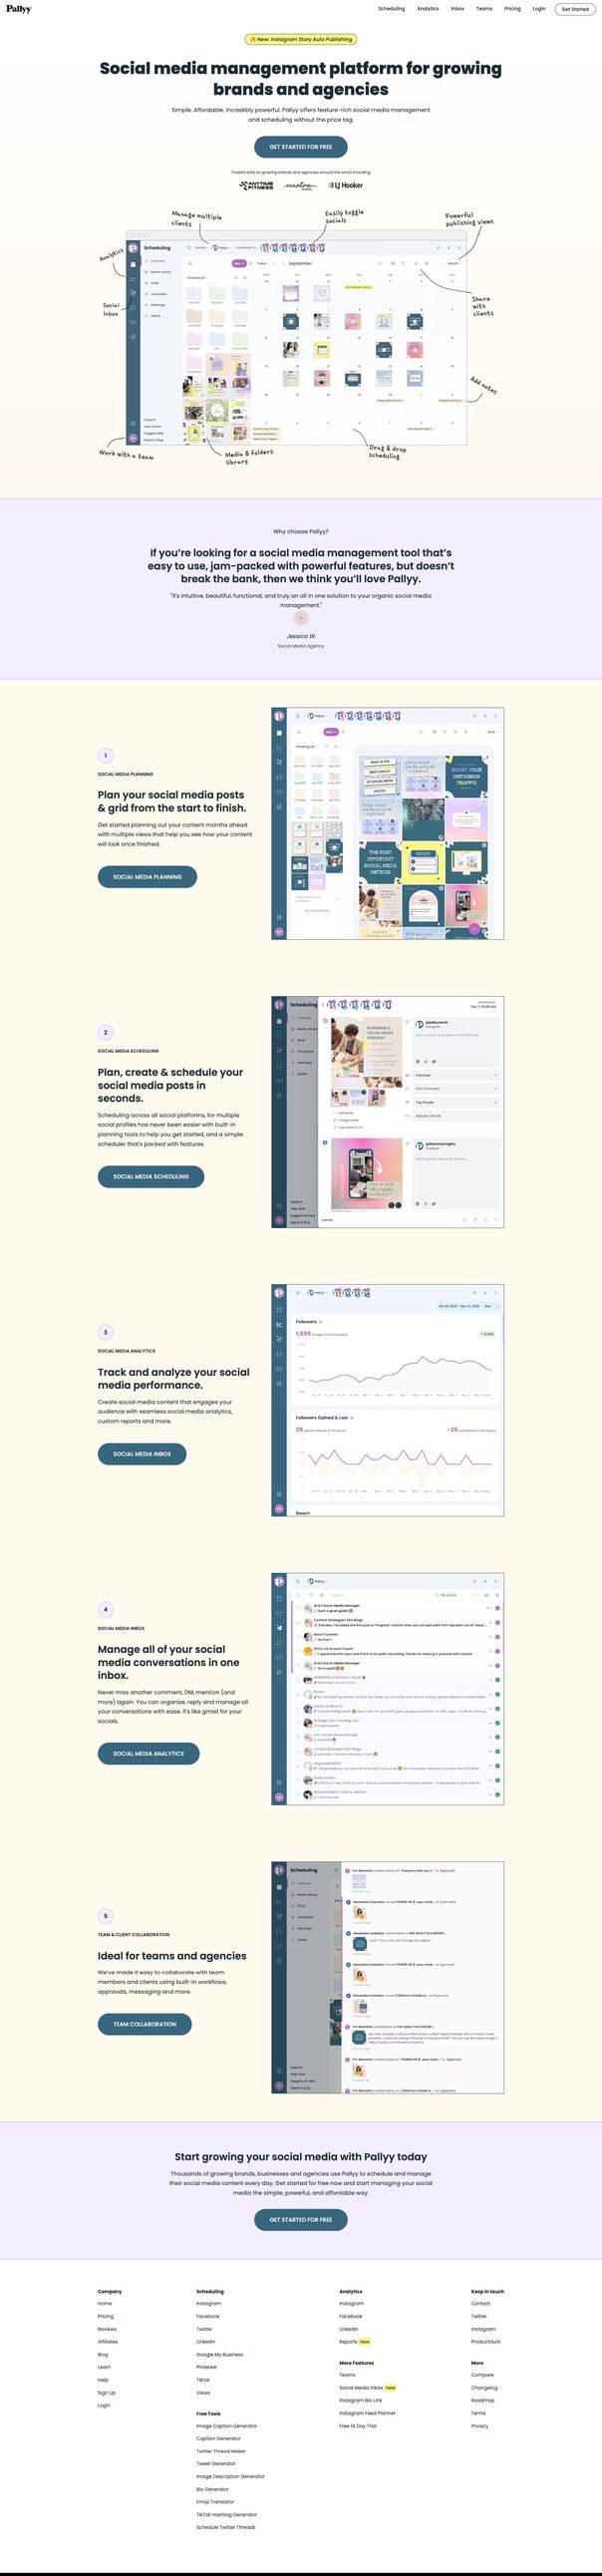
Pallyy is a social media management and scheduling tool.
Founder(s)
Unique
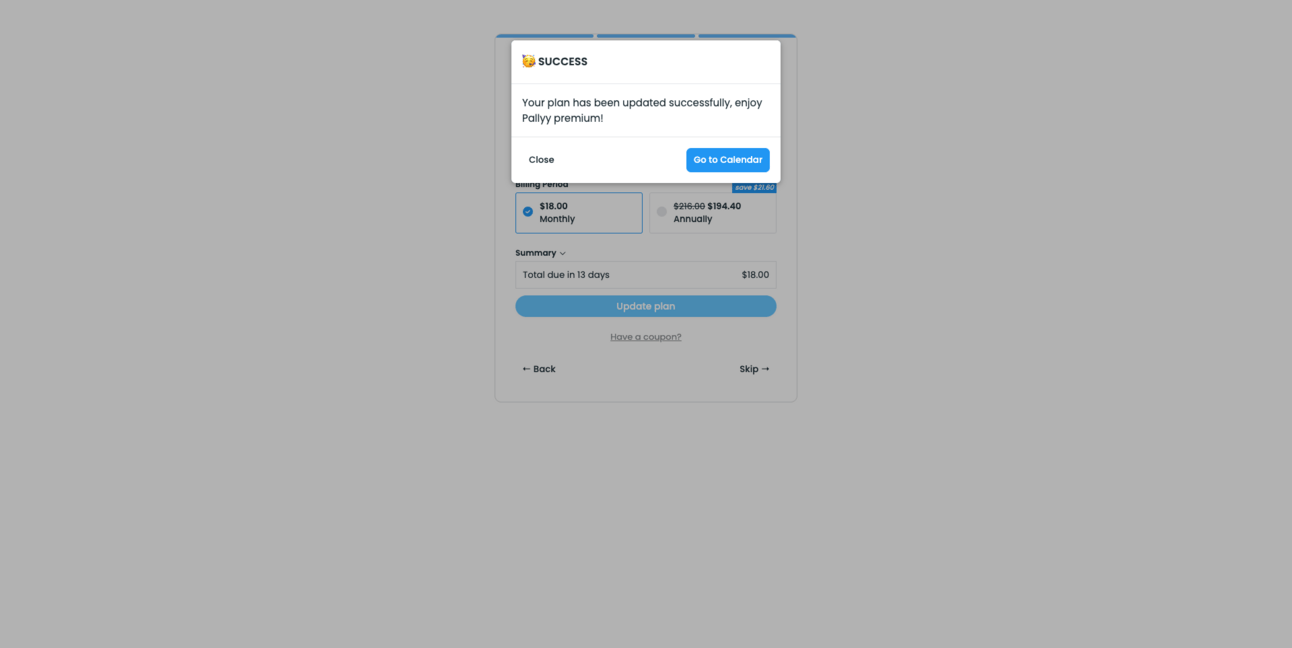
You pick your plan at the end of the onboarding flow vs. before starting
Notes
Funded/Self-funded: Self-Funded
Credit card required: Yes (for paid plan trial)
Product walkthrough: No
Email confirmation required: No
# of steps until first product usage: 9 (free plan)/11 (paid plan)
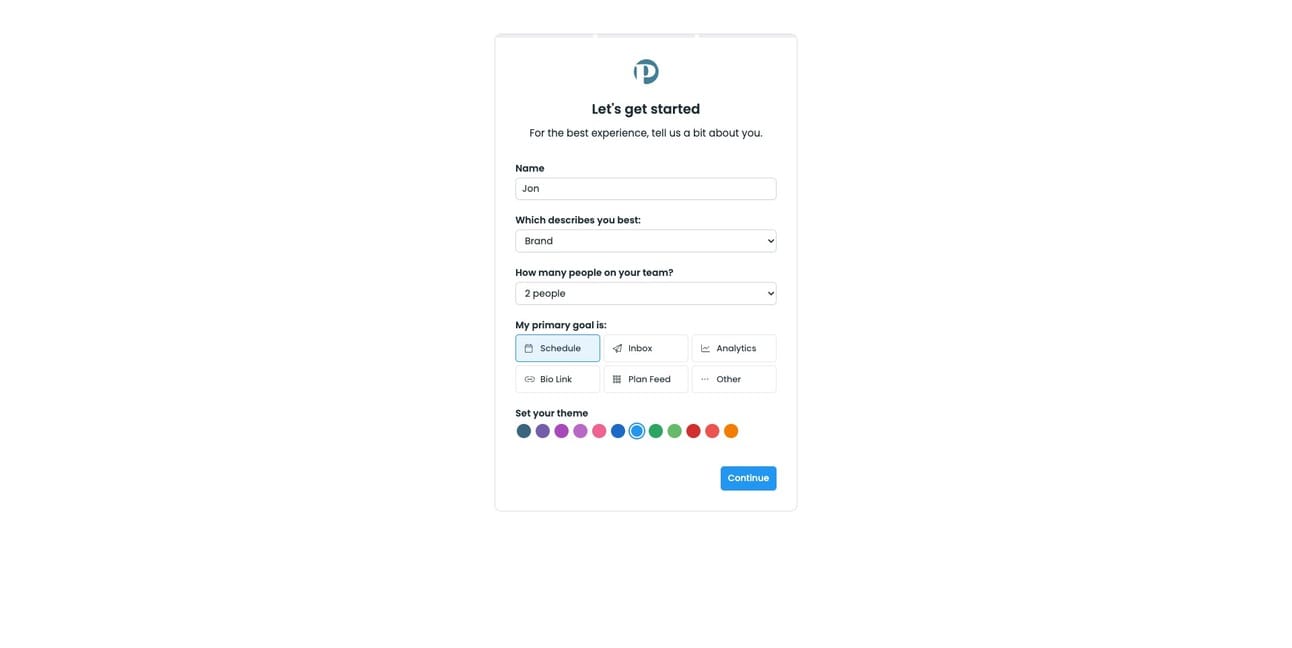
Required info: Email, password, what kind of user (brand, creator, etc.), team size, primary functionality goal
Optional info: None
Onboarding flow
Step 1: Home → Step 2: Sign up → Step 3: About you → Step 4: Connect social account → Step 5: Connect Twitter → Step 6: Authorize Twitter → Step 7: Twitter connected → Step 8: Choose plan → Step 9: Enter credit card→ Step 10: Payment successful → Step 11: Dashboard → Step 12: New menu → Step 13: Schedule text tweet
Pallyy Step 1: Home
Pallyy Step 2: Sign up

Pallyy Step 3: About you
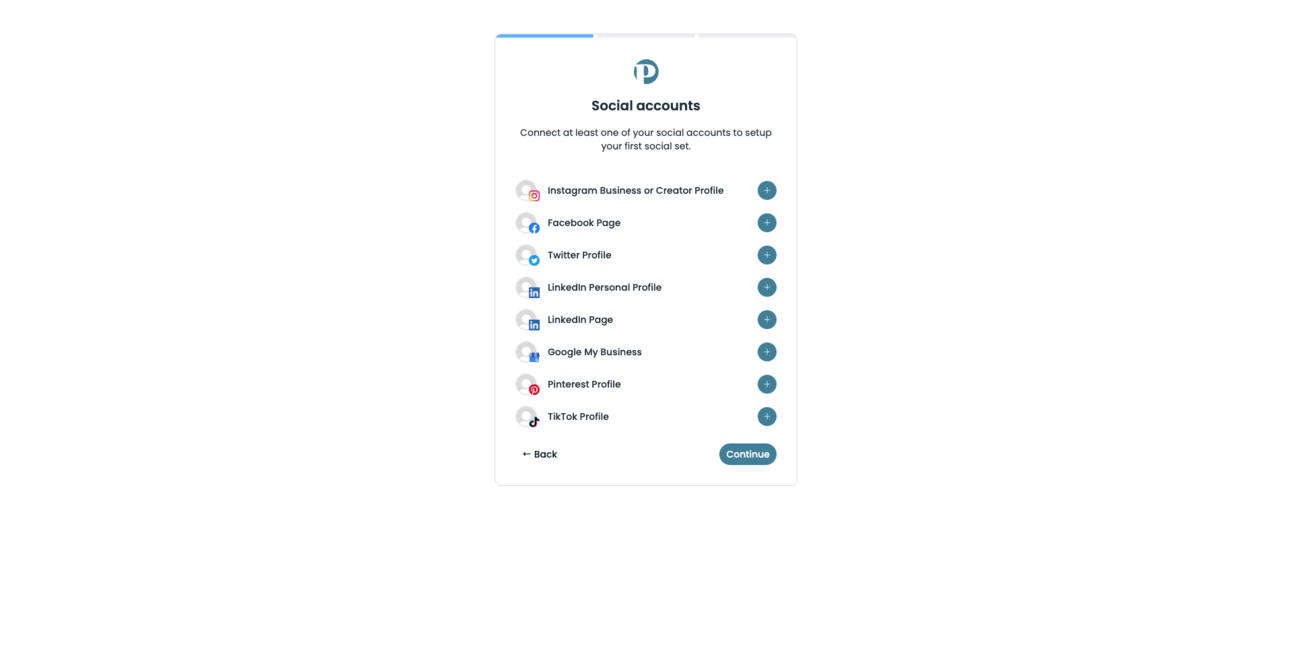
Pallyy Step 5: Connect Twitter


Pallyy Step 7: Twitter connected

Pallyy Step 8: Choose plan

Pallyy Step 9: Enter credit card

Pallyy Step 10: Payment successful
Pallyy Step 11: Dashboard

Pallyy Step 12: New menu

Pallyy Step 13: Schedule text tweet

June

About the product
June uses AI to turn user feedback from 30 sources into feature requests, popular features, and other product insights.
Founder(s)
Unique
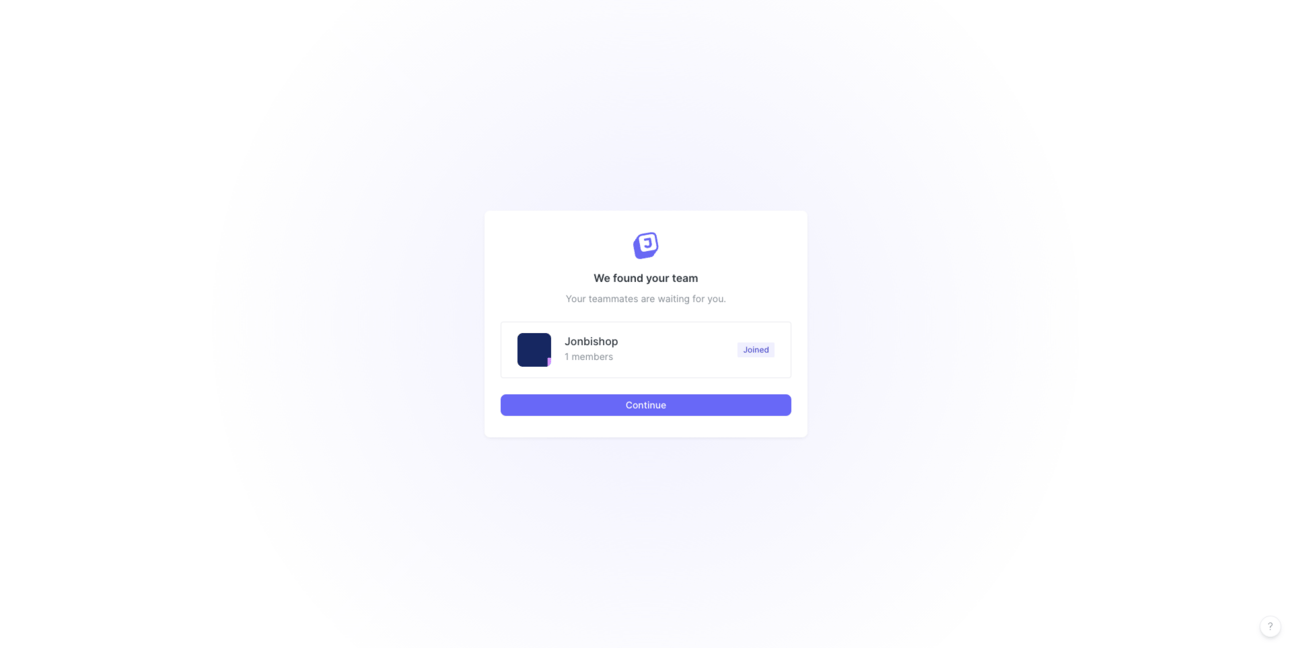
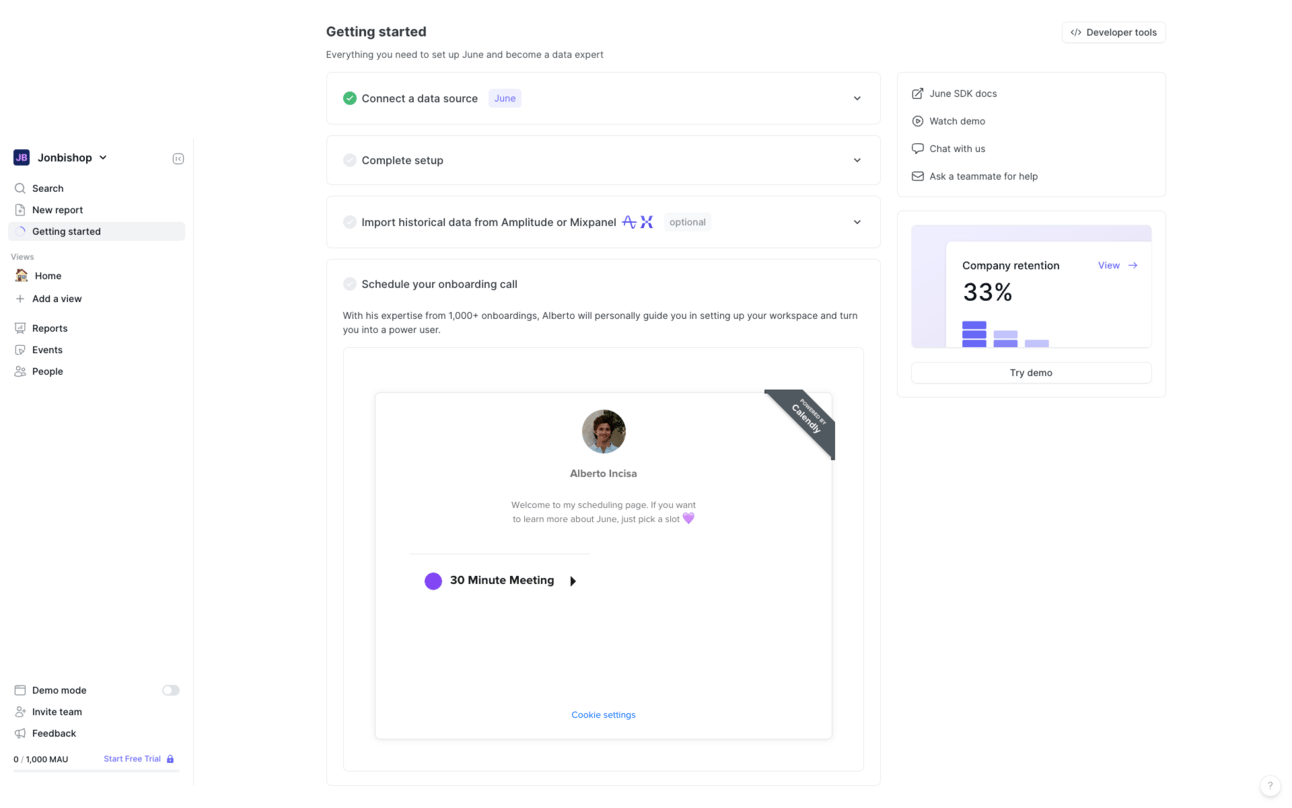
June has you schedule an onboarding call at the end of the onboarding flow
Notes
Funded/Self funded: Funded
Credit card required: No
Product walkthrough: Yes - required
Email confirmation required: Yes
# of steps until first product usage: 10
Required info: Email, password, B2B or B2C, company size, how did you hear about us
Optional info: None
Onboarding flow
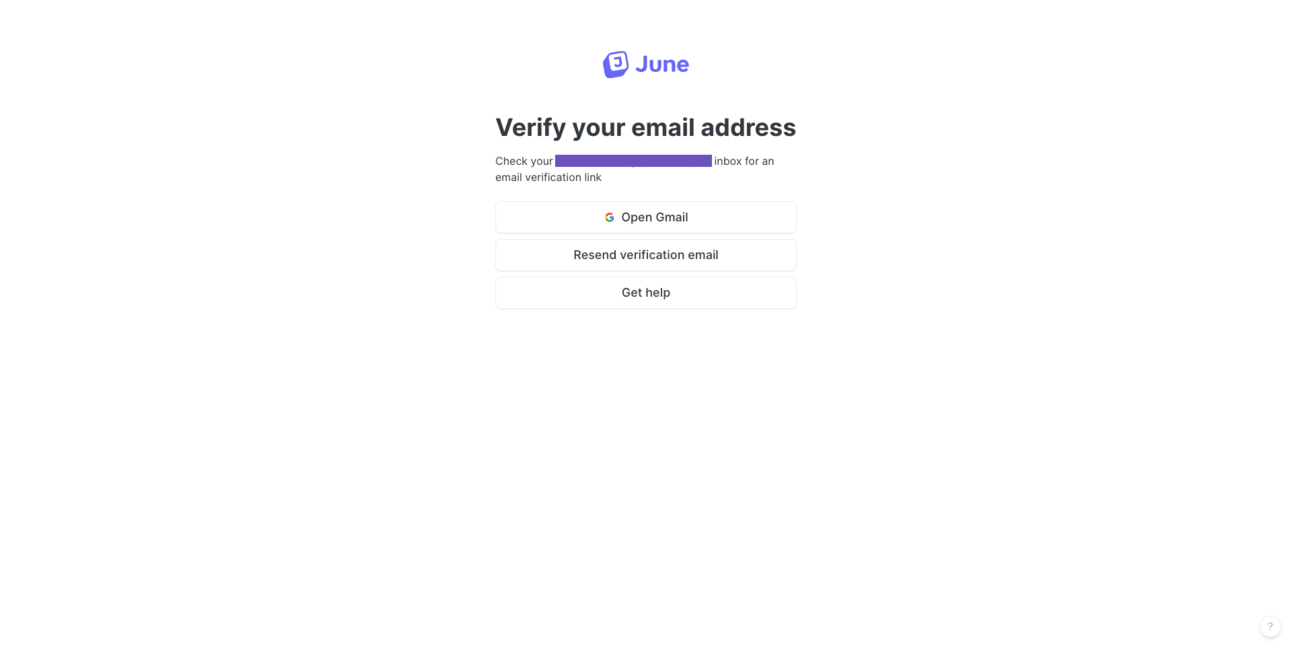
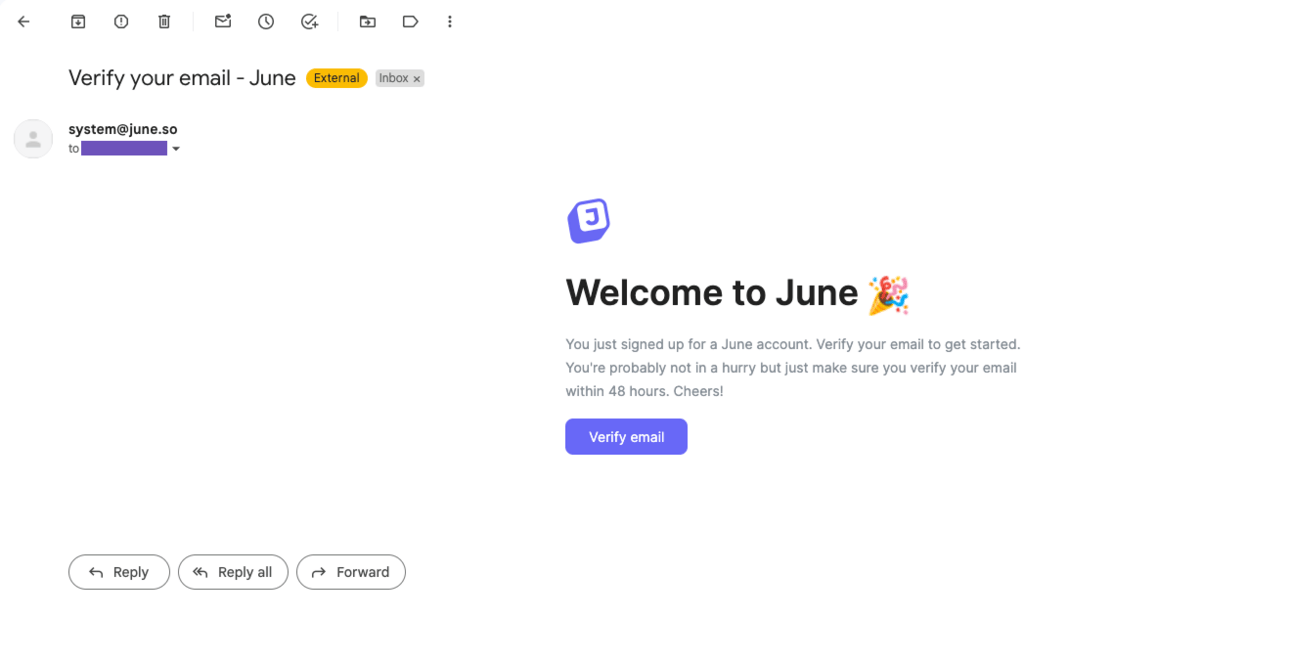
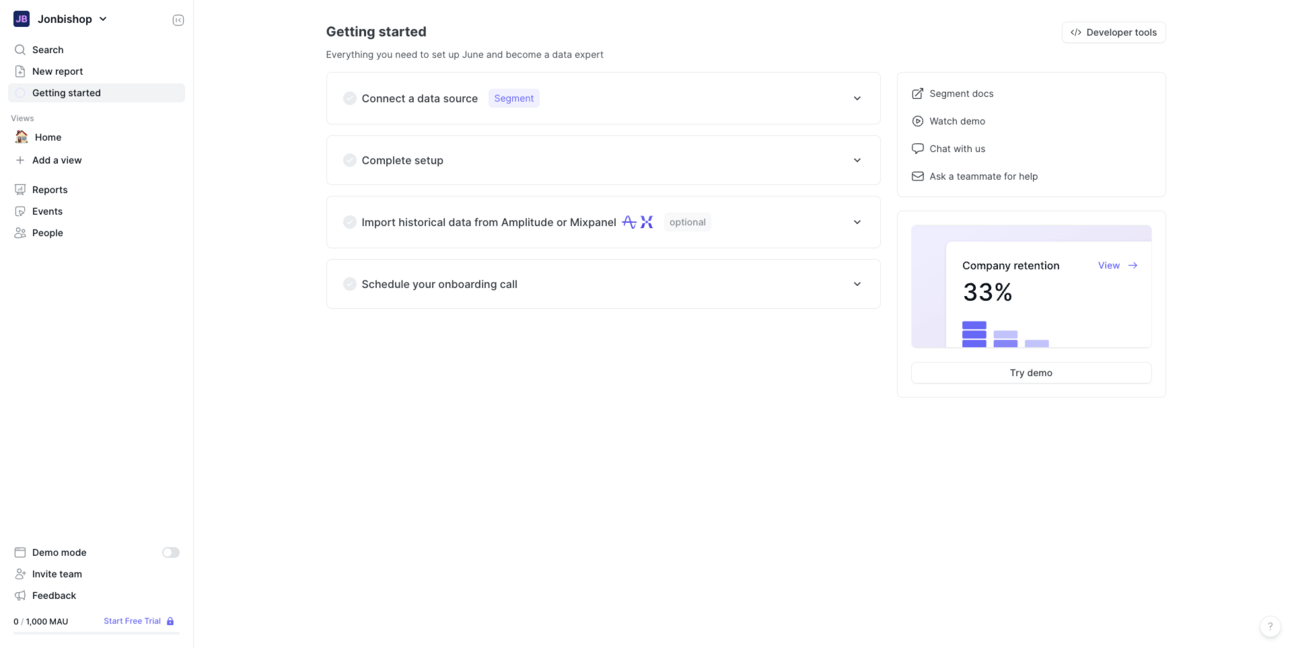
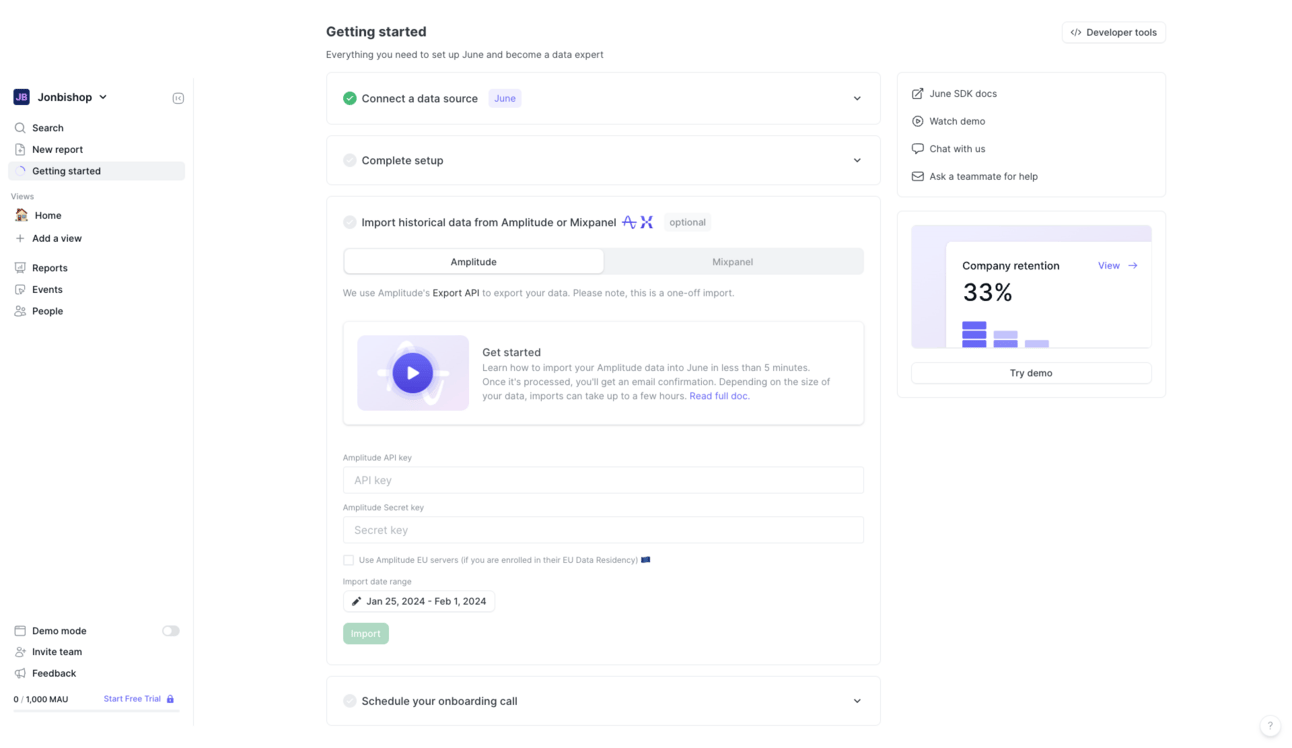
Step 1: Home → Step 2: Sign up → Step 3: Confirmation email sent → Step 4: Confirmation email → Step 5: Email confirmed → Step 6: About you → Step 7: Choose how to get set up → Step 8: Getting started → Step 9: Data source connected → Step 10: Complete set up → Step 11: Import data → Step 12: Schedule onboarding
June Step 1: Home

June Step 2: Sign up

June Step 3: Confirmation email sent
June Step 4: Confirmation email
June Step 5: Email confirmed
June Step 6: About you

June Step 7: Choose how to get set up

June Step 8: Getting Started
June Step 9: Data source connected

June Step 10: Complete setup

June Step 11: Import data
June Step 12: Schedule onboarding
Thank you for reading!
I hope this posts gives you ideas on how to improve your onboarding! Let me know if you have any questions or something you’d like to see me do differently next time.
I’m going to be publishing future posts at least twice a month, so keep an eye out for my next.
Best,
Jon
Obsaased